Learn to make your first custom sketchbook!
Supplies Needed:
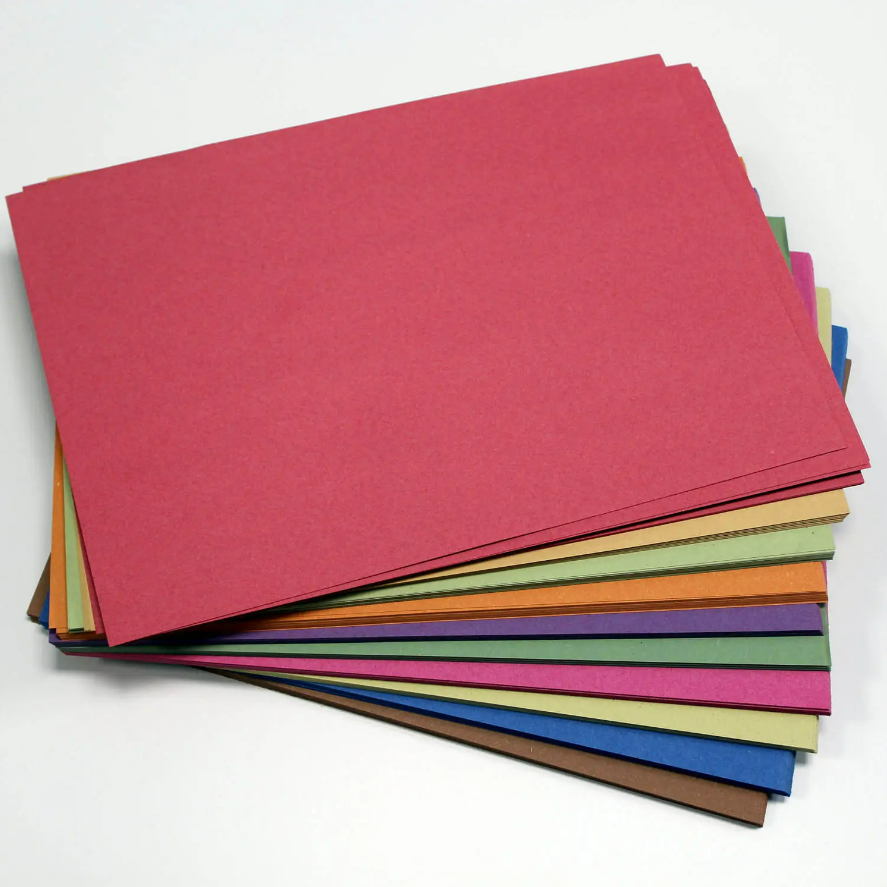
Paper of your choice

Two book boards or cardboards
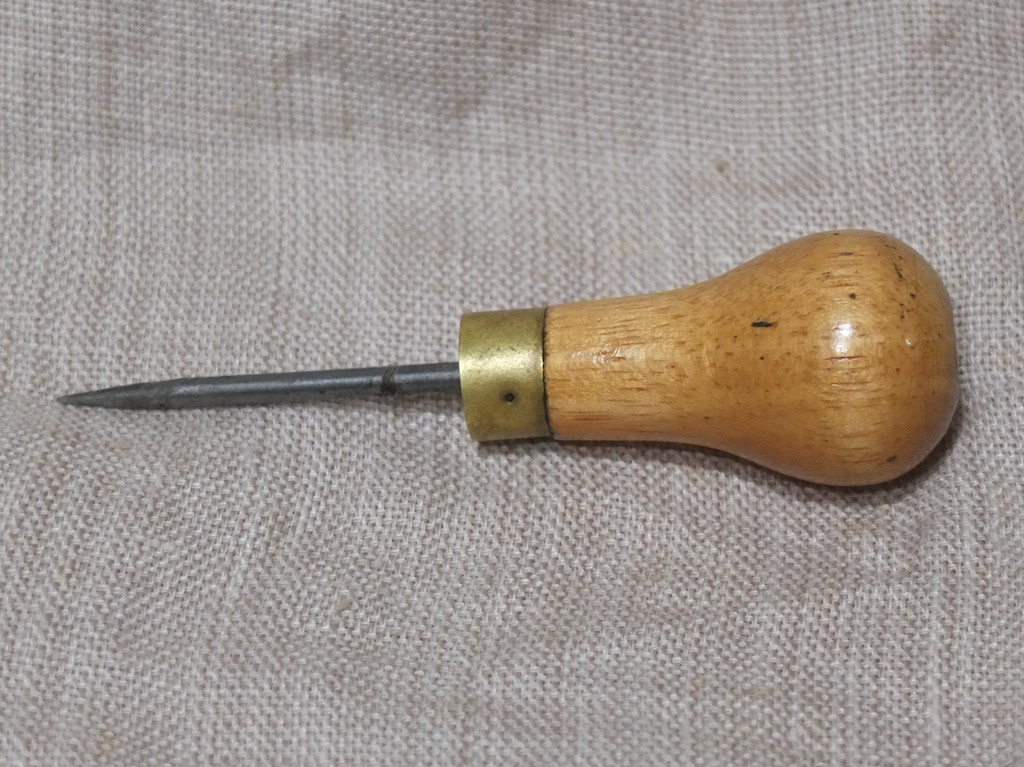
Awl

Curved Needle and thread. (Measure the thread three times across the width of your shoulder)
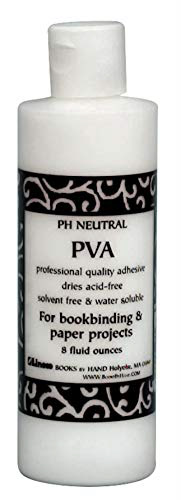
PVA glue
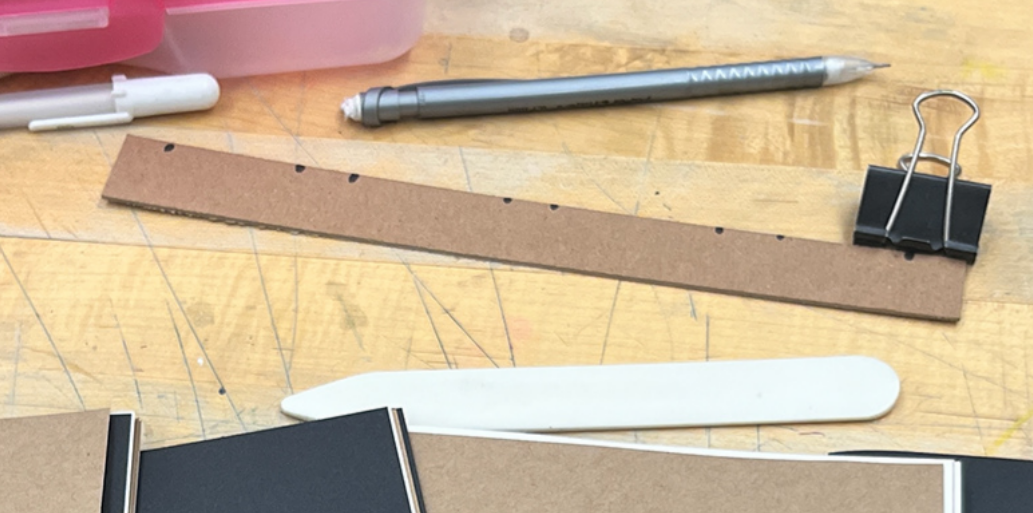
A bone folder (craft sticks are an alternative), binder clip, pen or pencil, a guide for puncturing holes (as shown in the photo)
Let's Begin!
Step 1: Pick Papers to use for your book pages.
- You will need 3-4 papers per signature (section). I have 4 signatures with 4 papers each (4x4=16 papers)
- You can chose any size, but I used a 9x12 sheet for this sketchbook
Step 2: Fold all the papers in half, using the bone folder to crease the folds
Step 3: Separate all folded papers into signatures
(3-4 papers per signature). Reference note found in Step 1 for more information.

Step 4: Pick one signature and binder clip one side of the paper together, making sure it is aligned.
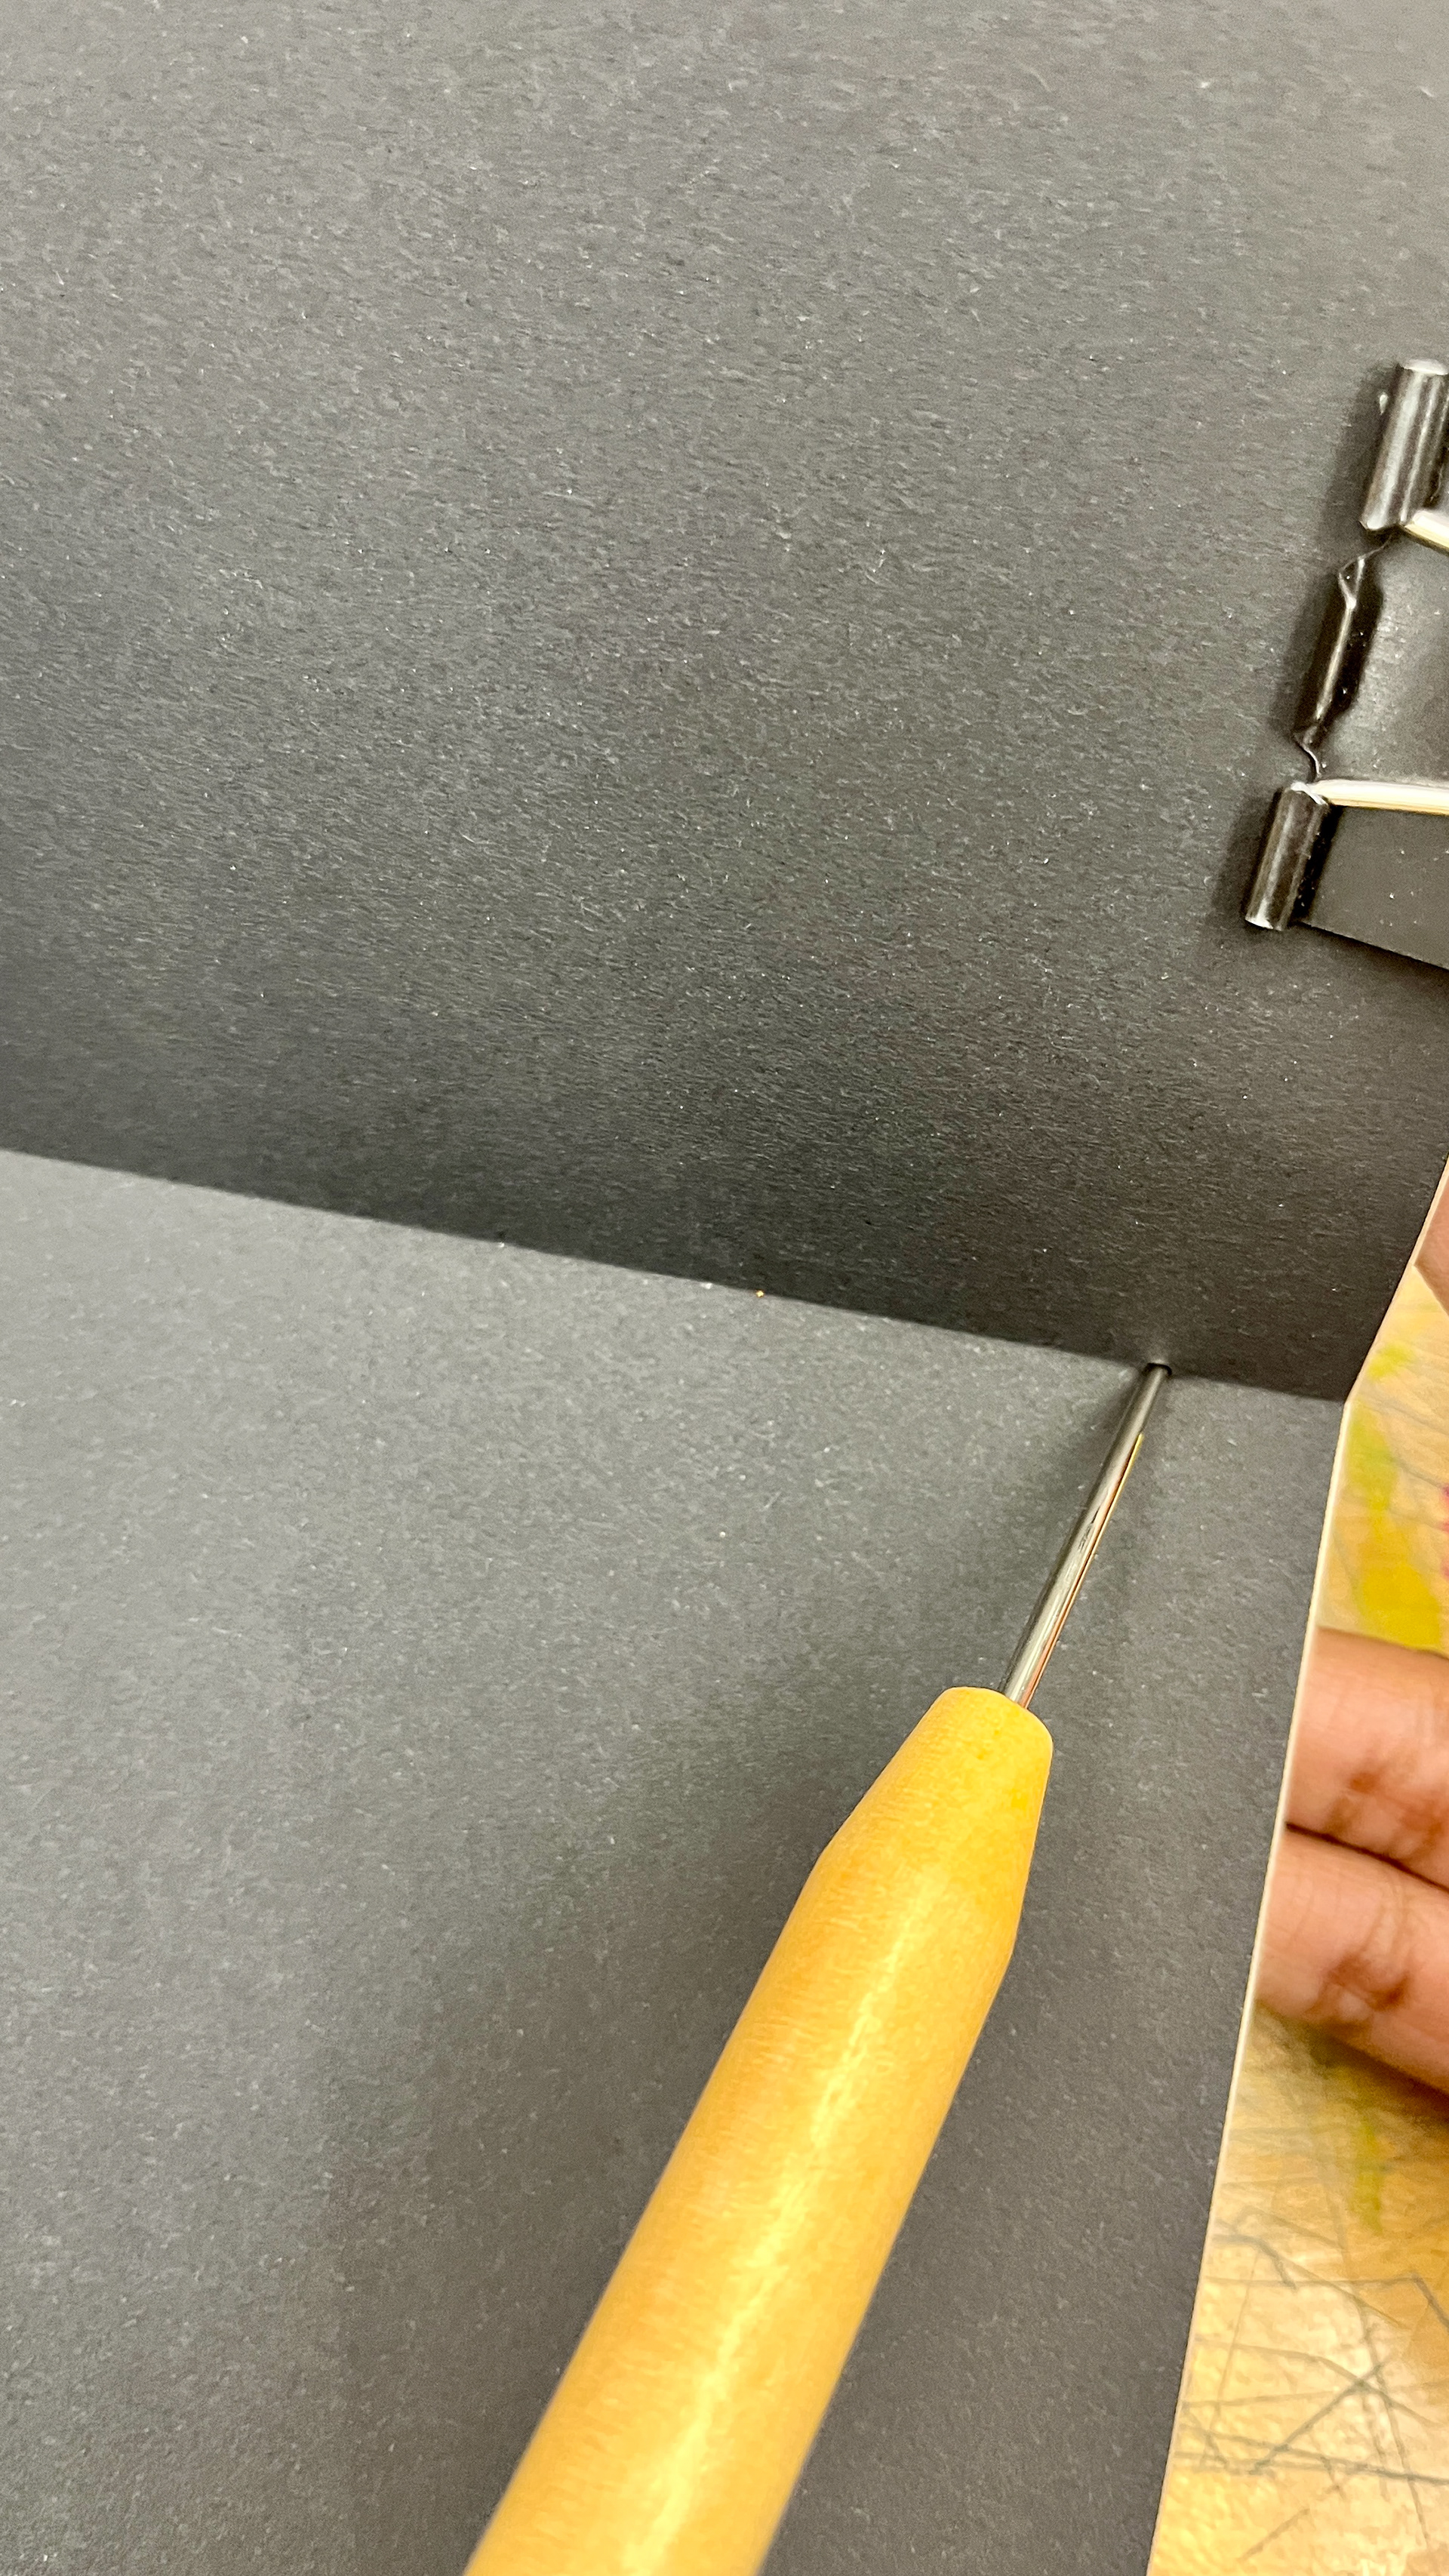
Step 5: Using a guide (as seen in the supplies), mark one page of the signature.
Step 6: Puncture holes at the marks made using the guide. (Note: Make sure all papers in the signatures are aligned before puncturing holes)
Follow steps 4-6 for the rest of the signatures.
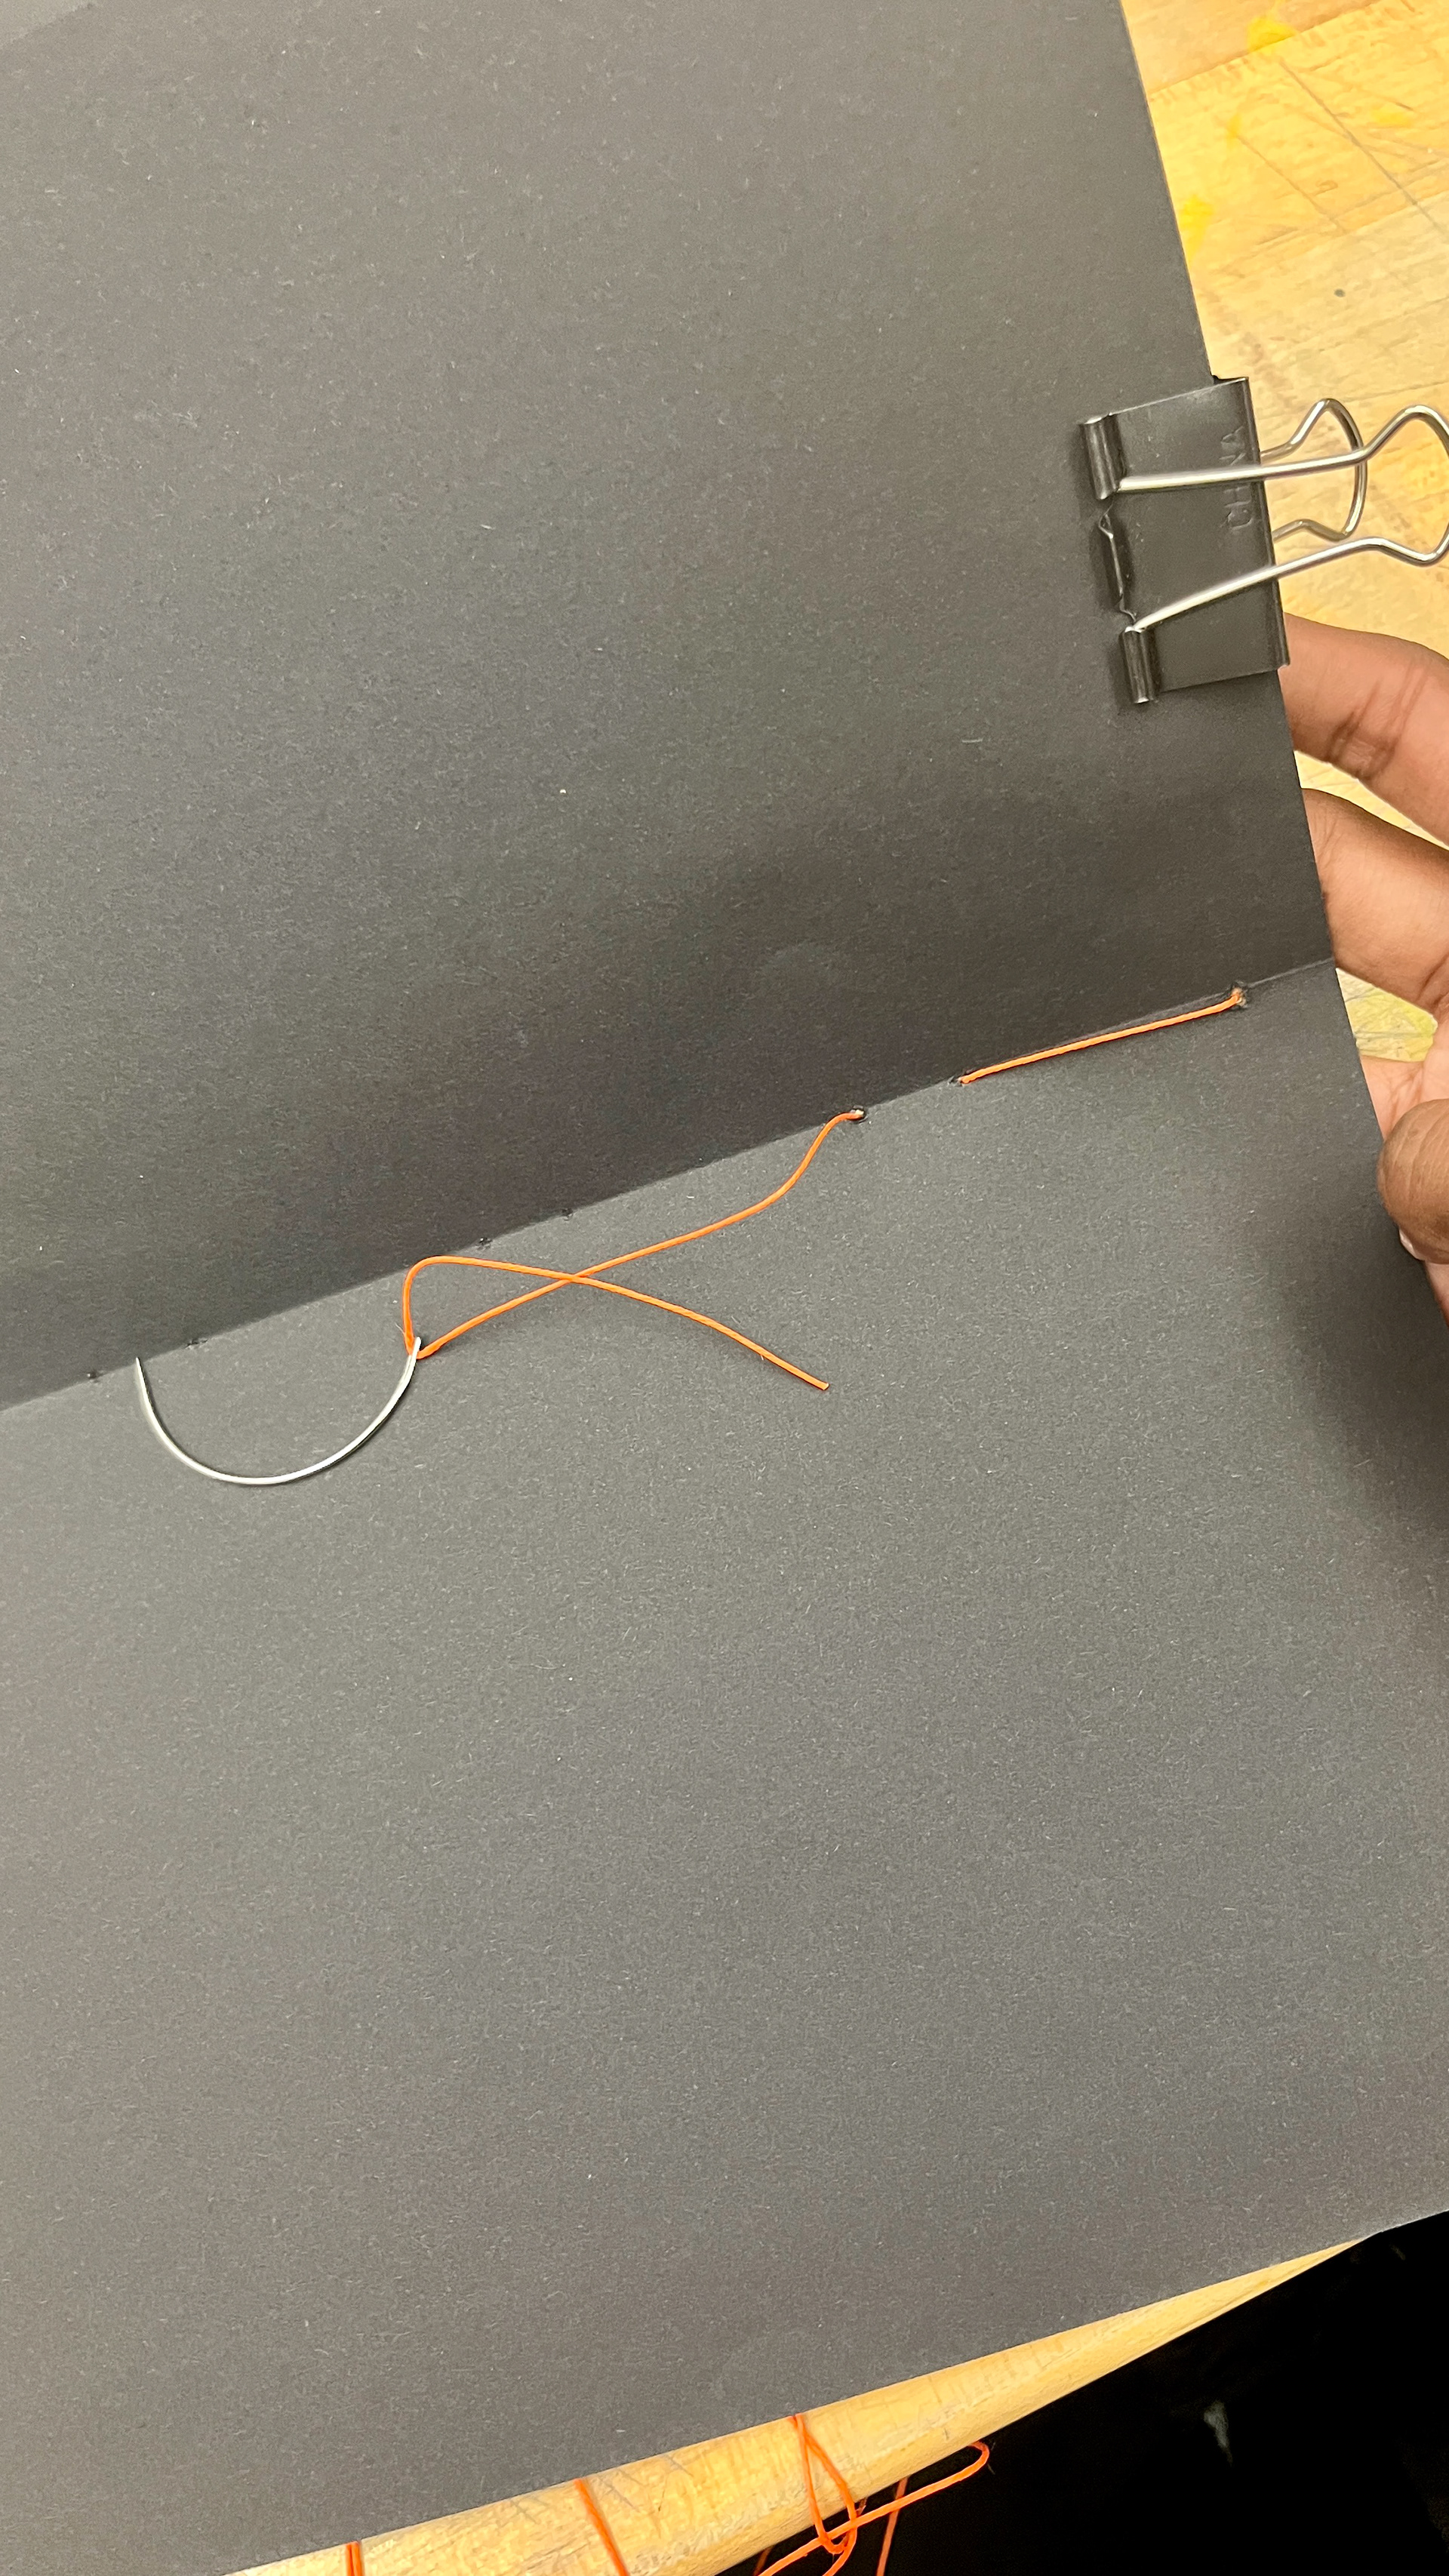
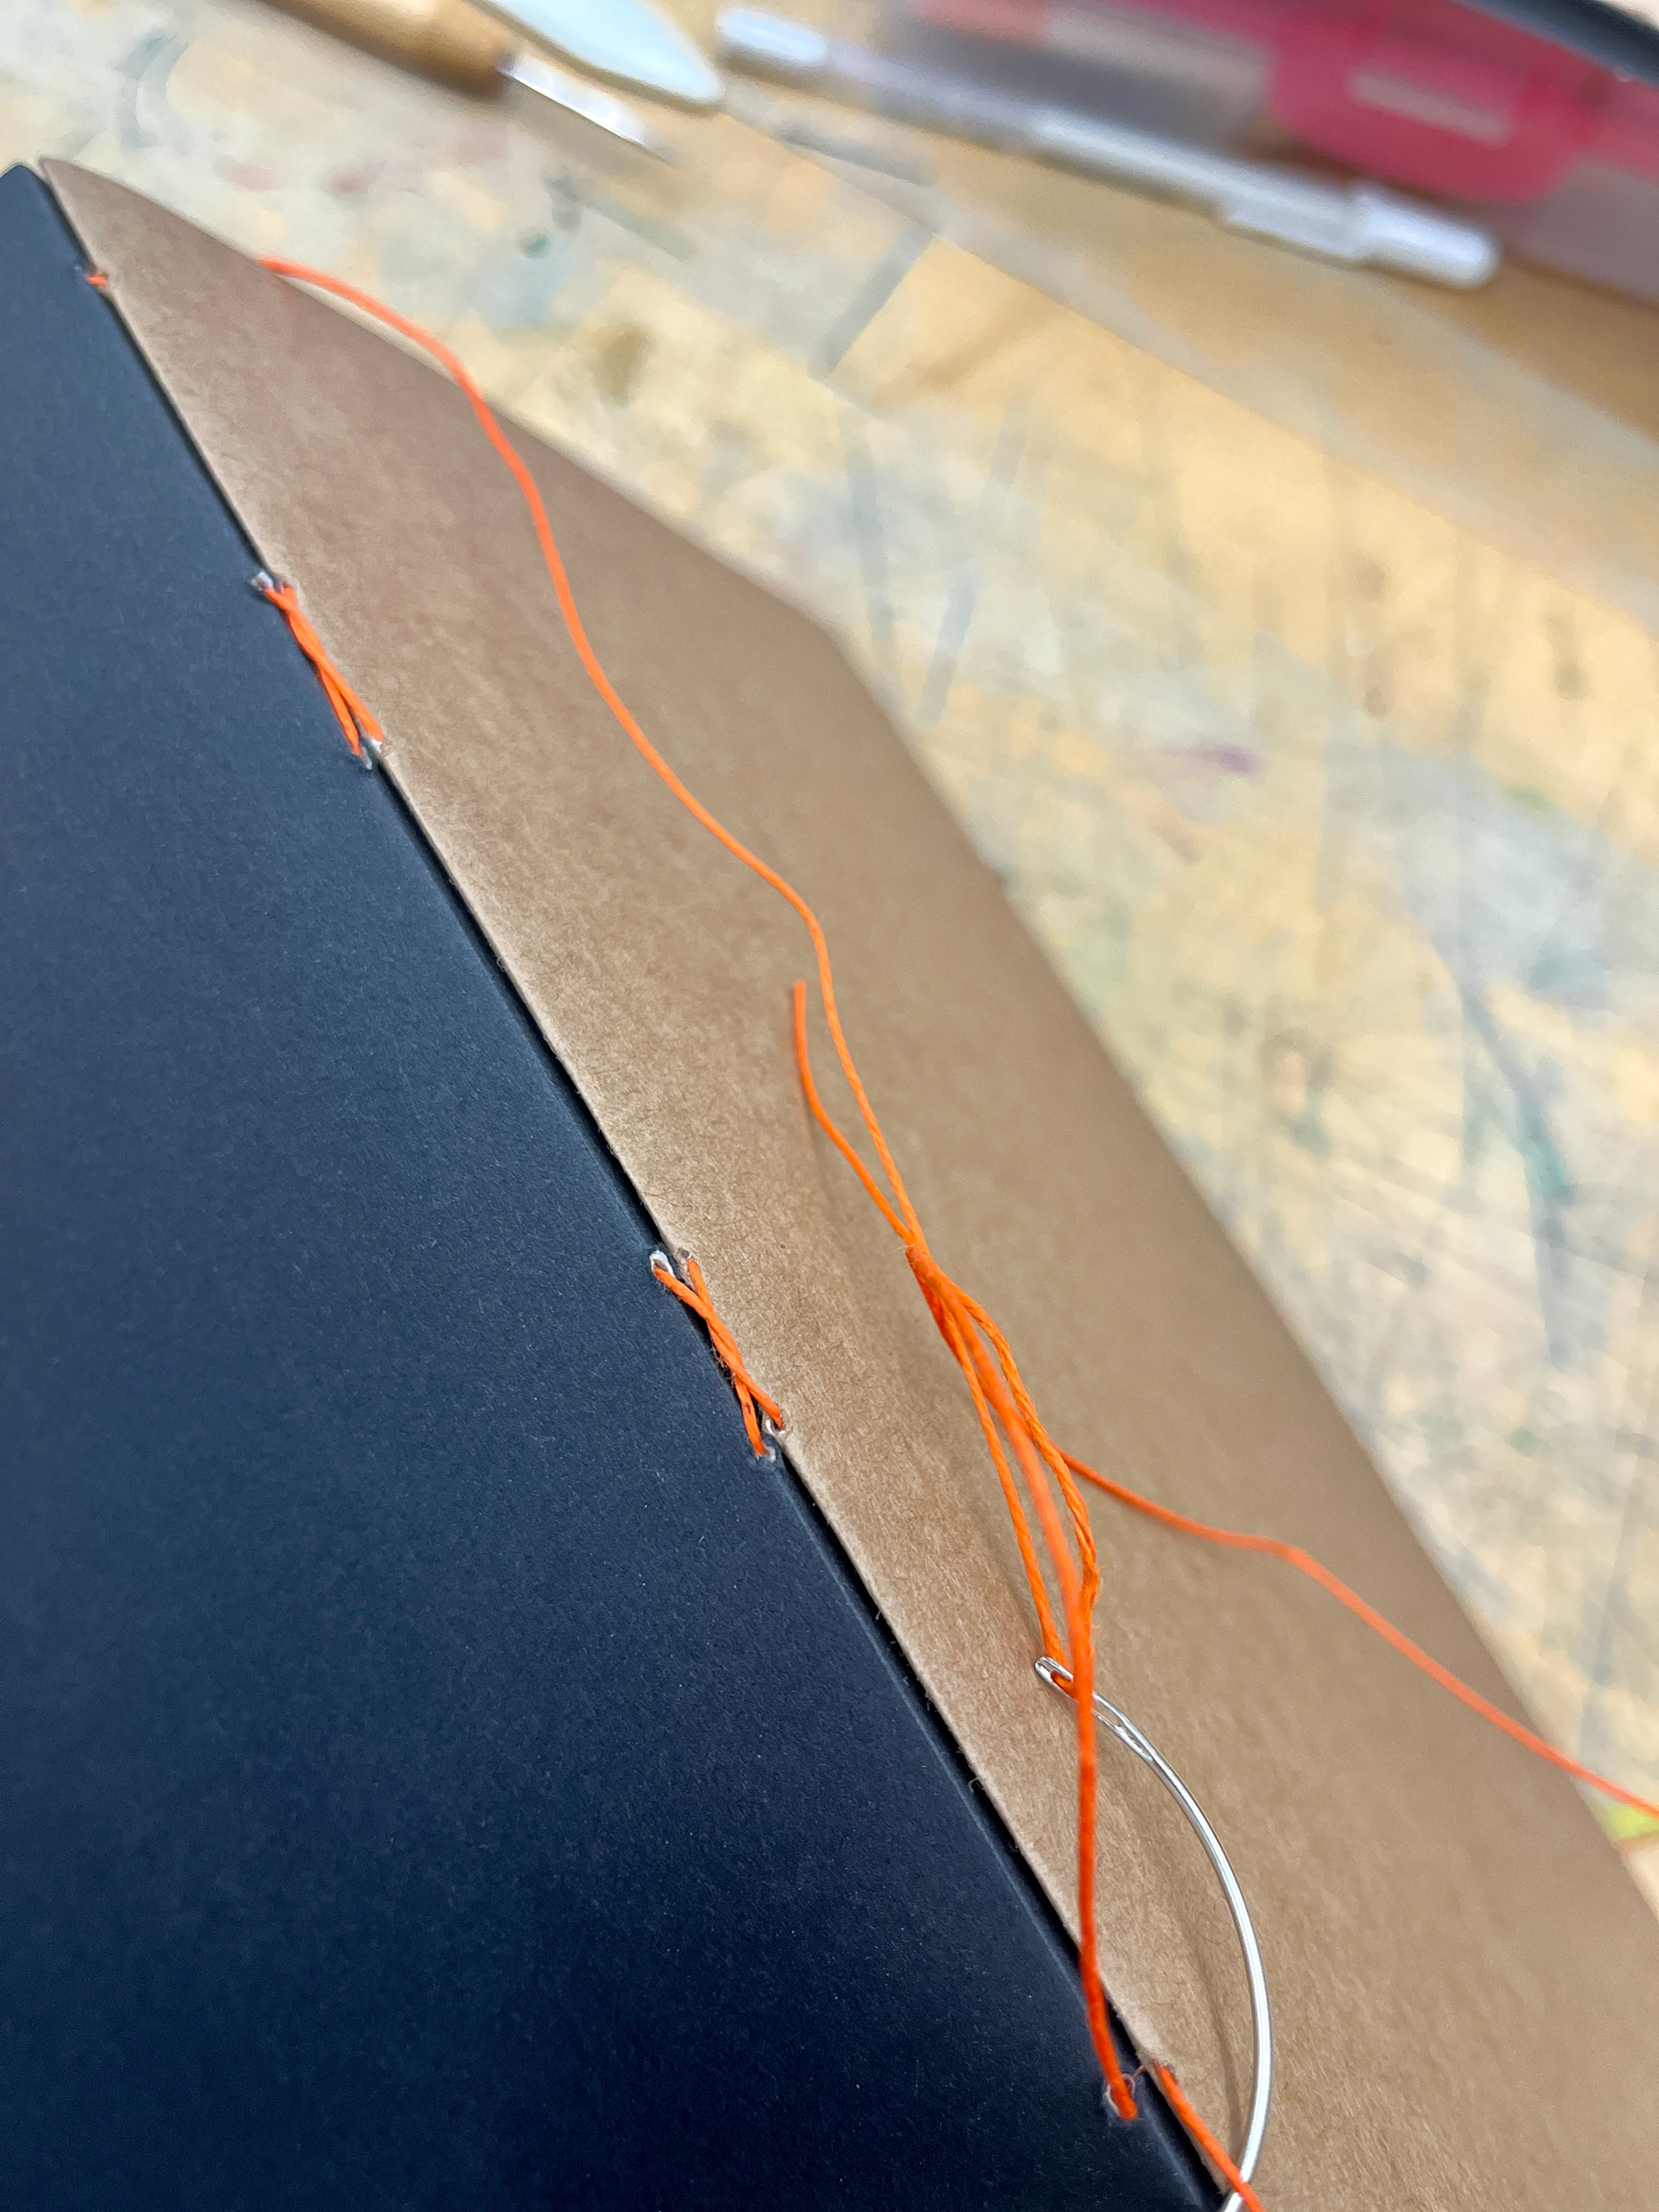
Step 7: With one signature, start using your needle and thread to sew the pages in the signature. Make sure to start from the back with the tail facing the outside of the cover. Use picture below for reference.
Step 8: Unclip the binder clip, line up the second signature to the sewed signature, and binder clip one side of the new signature to the previous signature.
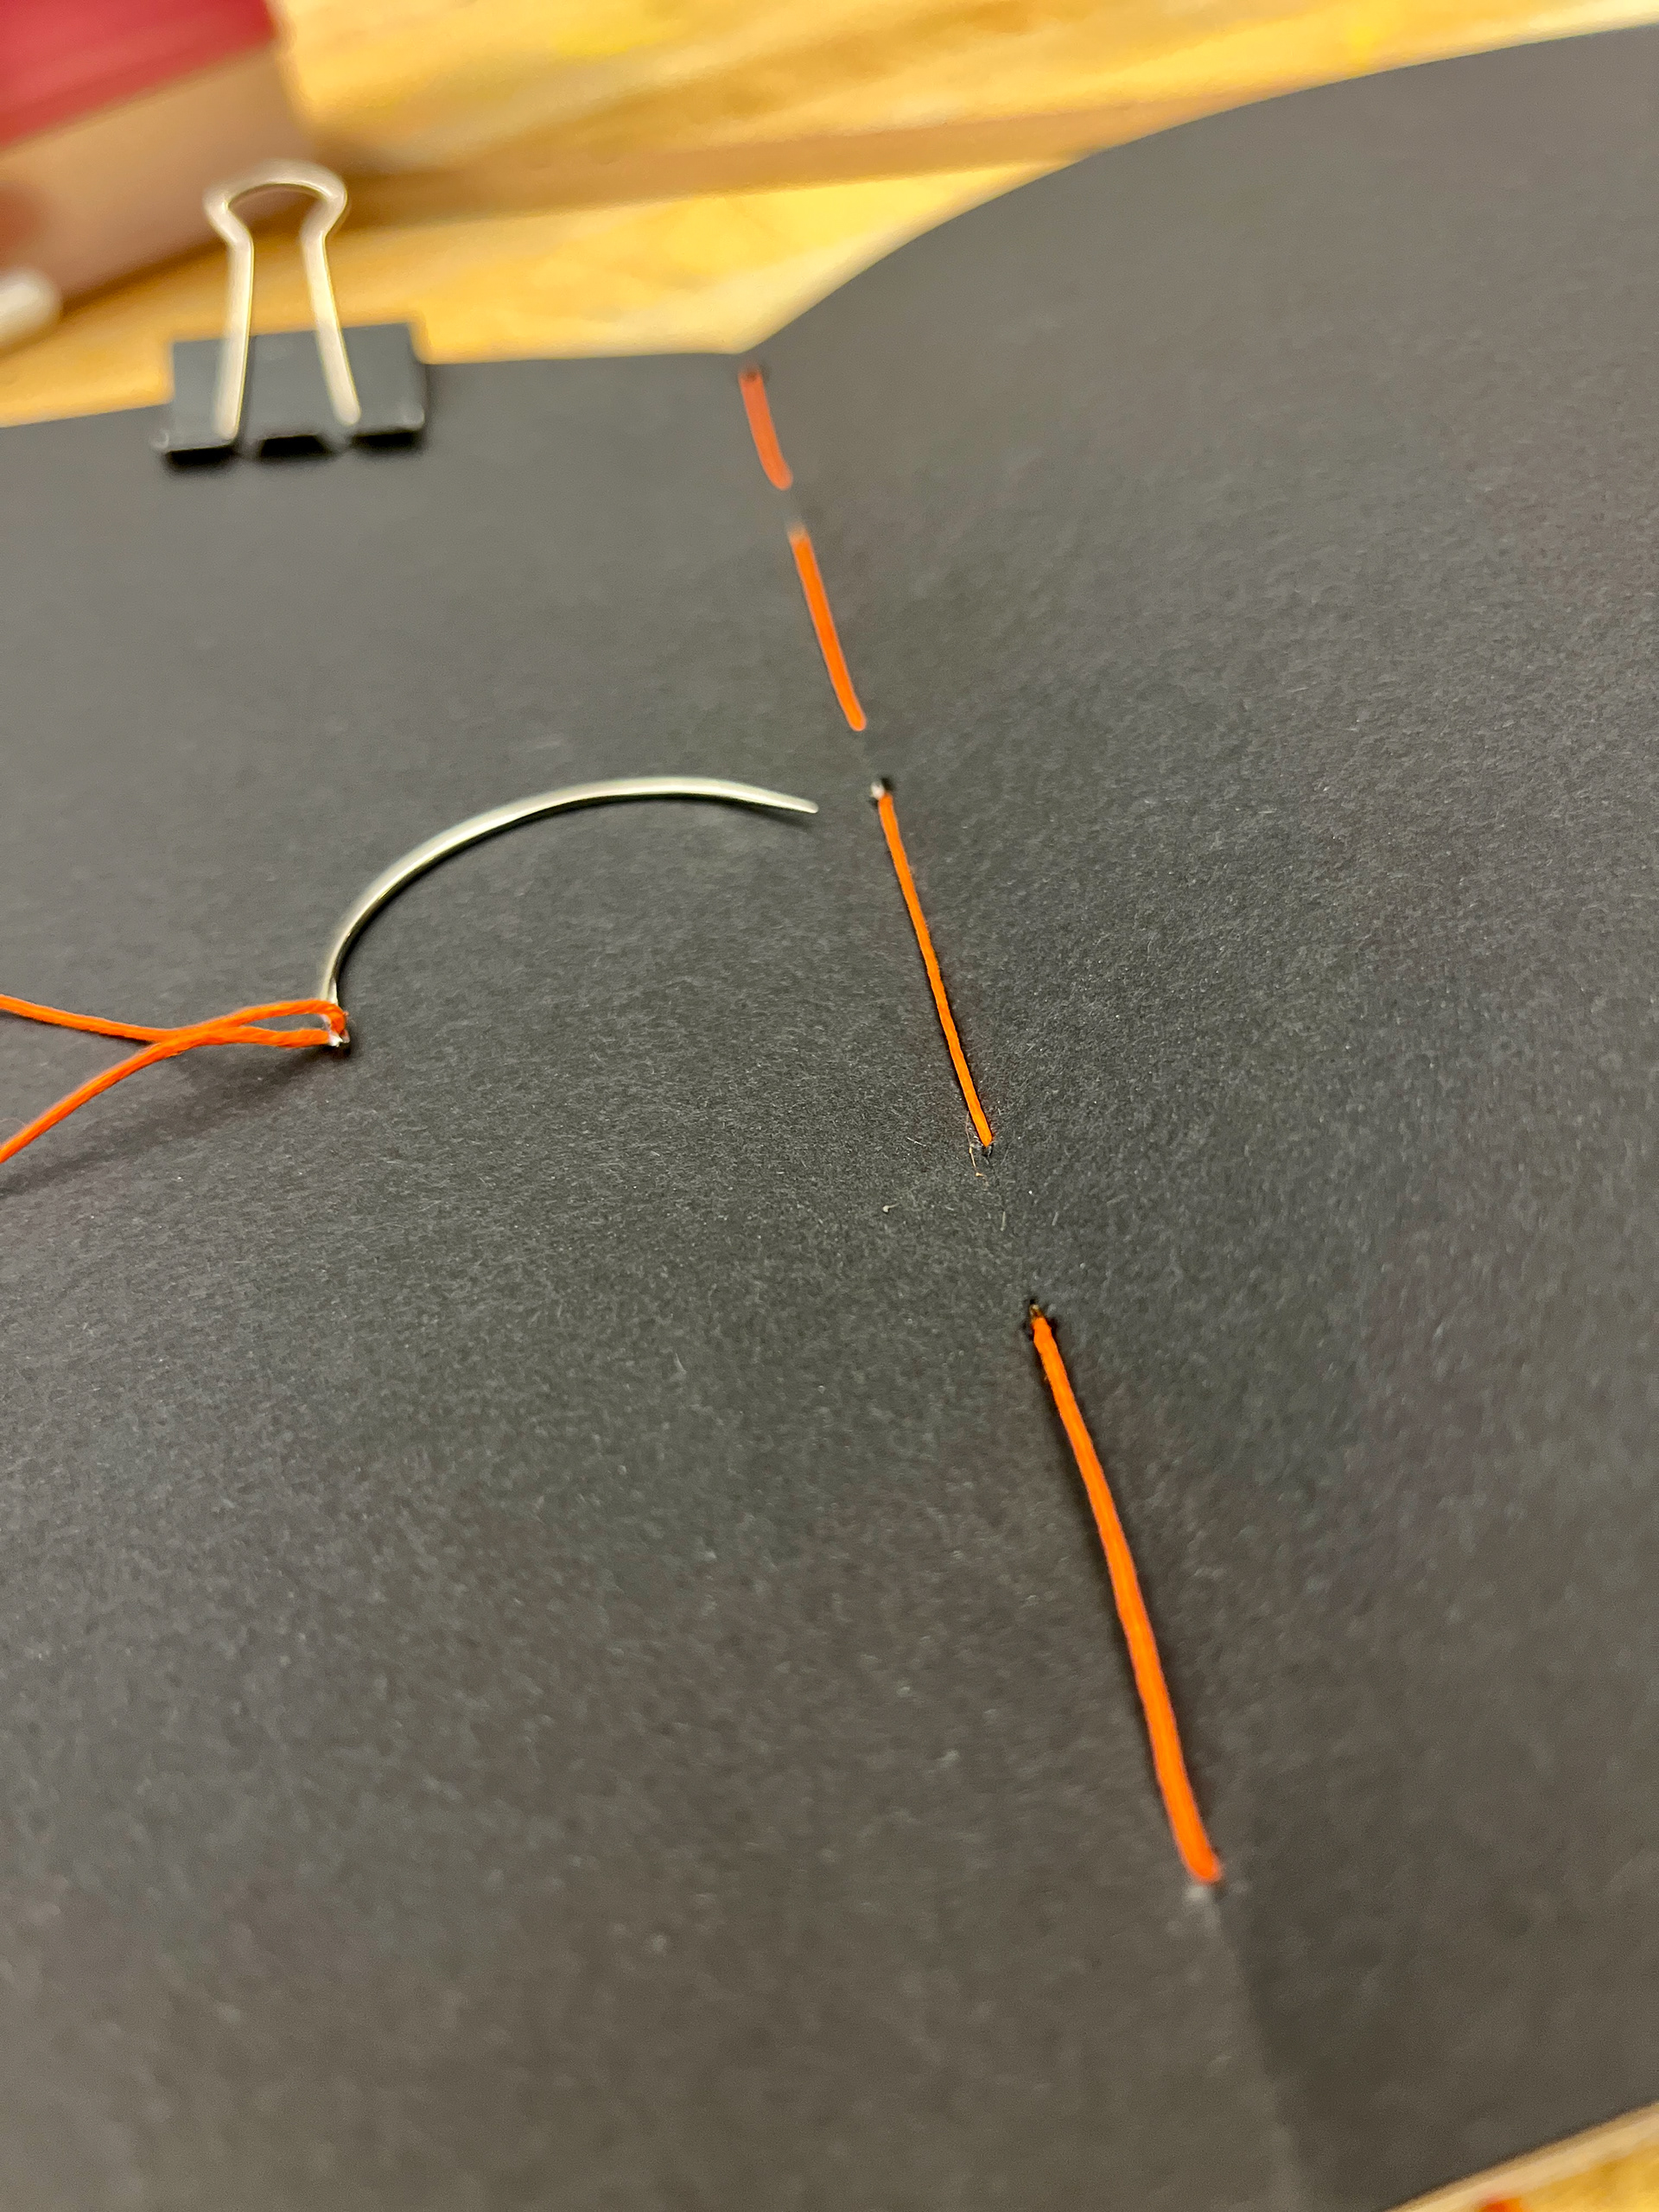
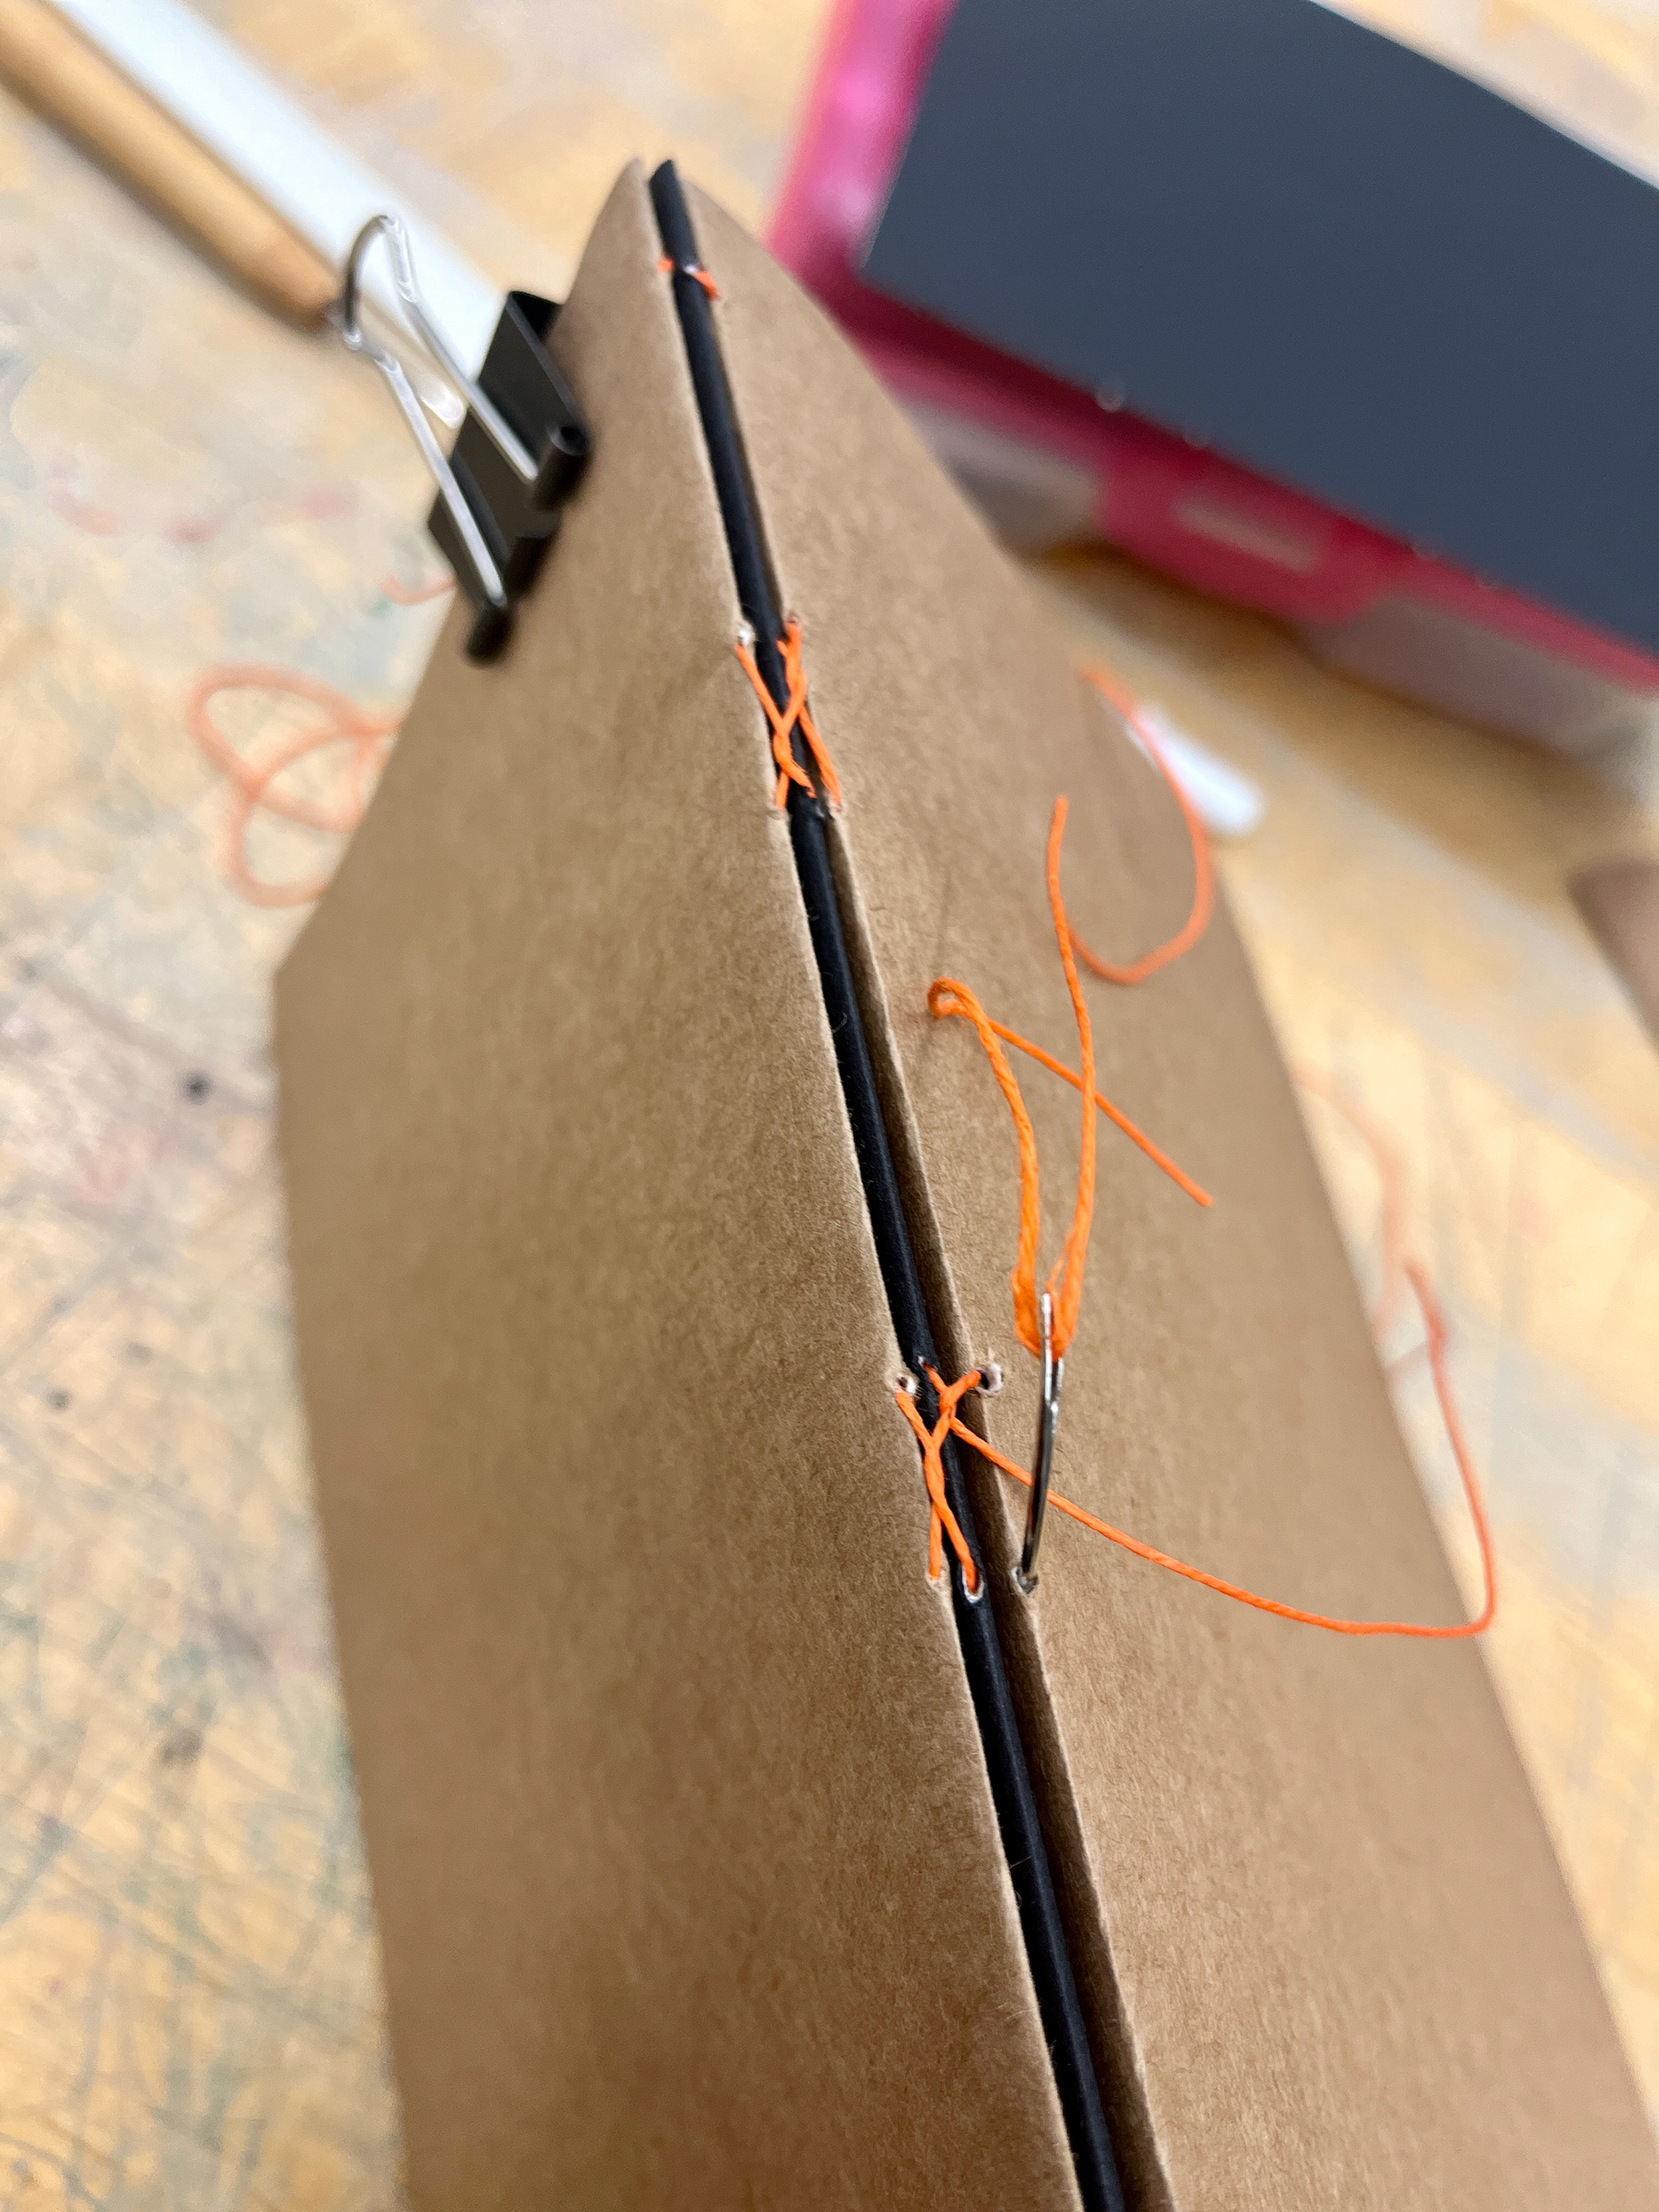
Step 9: Start sewing the next signature by going in through the hole in thee back of the signature. When you get to the second hole in your signature, go in through the inside page to the back, then go under the previous stitch made in the first signature, making an x shape. Then go back into the second signature and repeat for the next 2 stitches.
Follow steps 8-9 to add all other signatures.

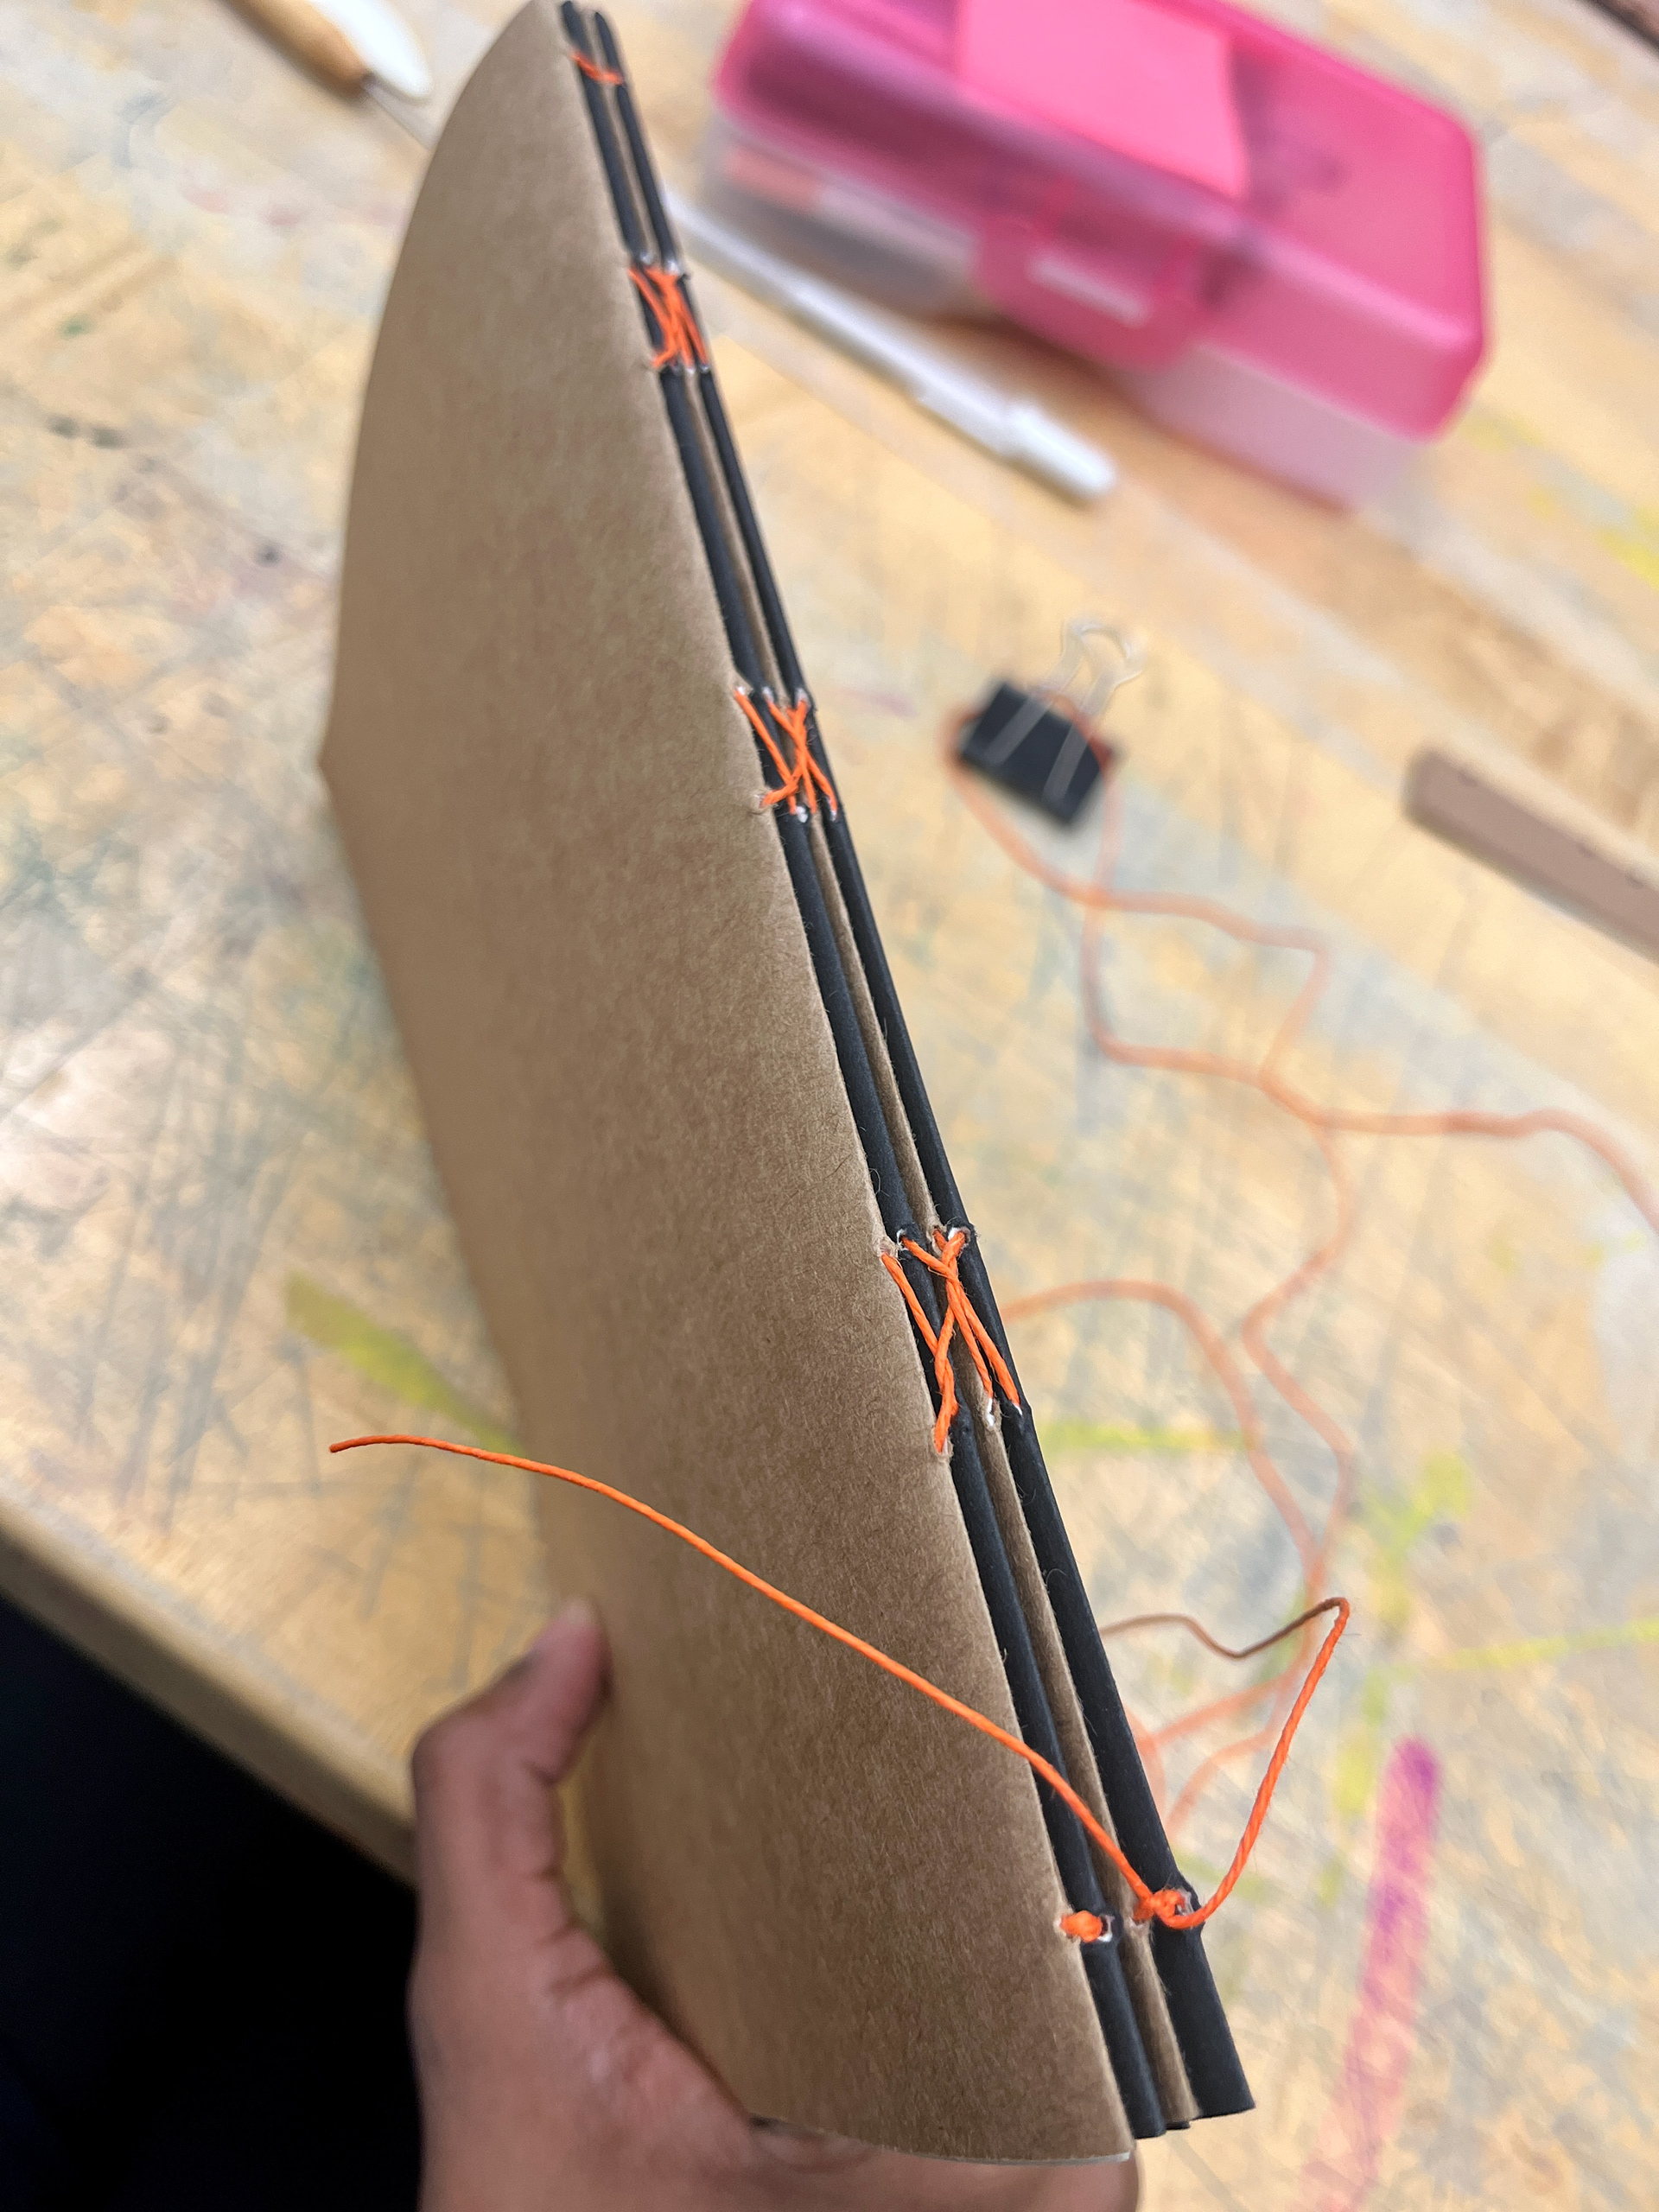
Step 10: On the last stitch connect the signatures by going under the stitch of the previous signature, then tie off the excess thread with the tail from the first signature. Make sure to knot 2 or more times to ensure that it is tight. Cut off excess thread.
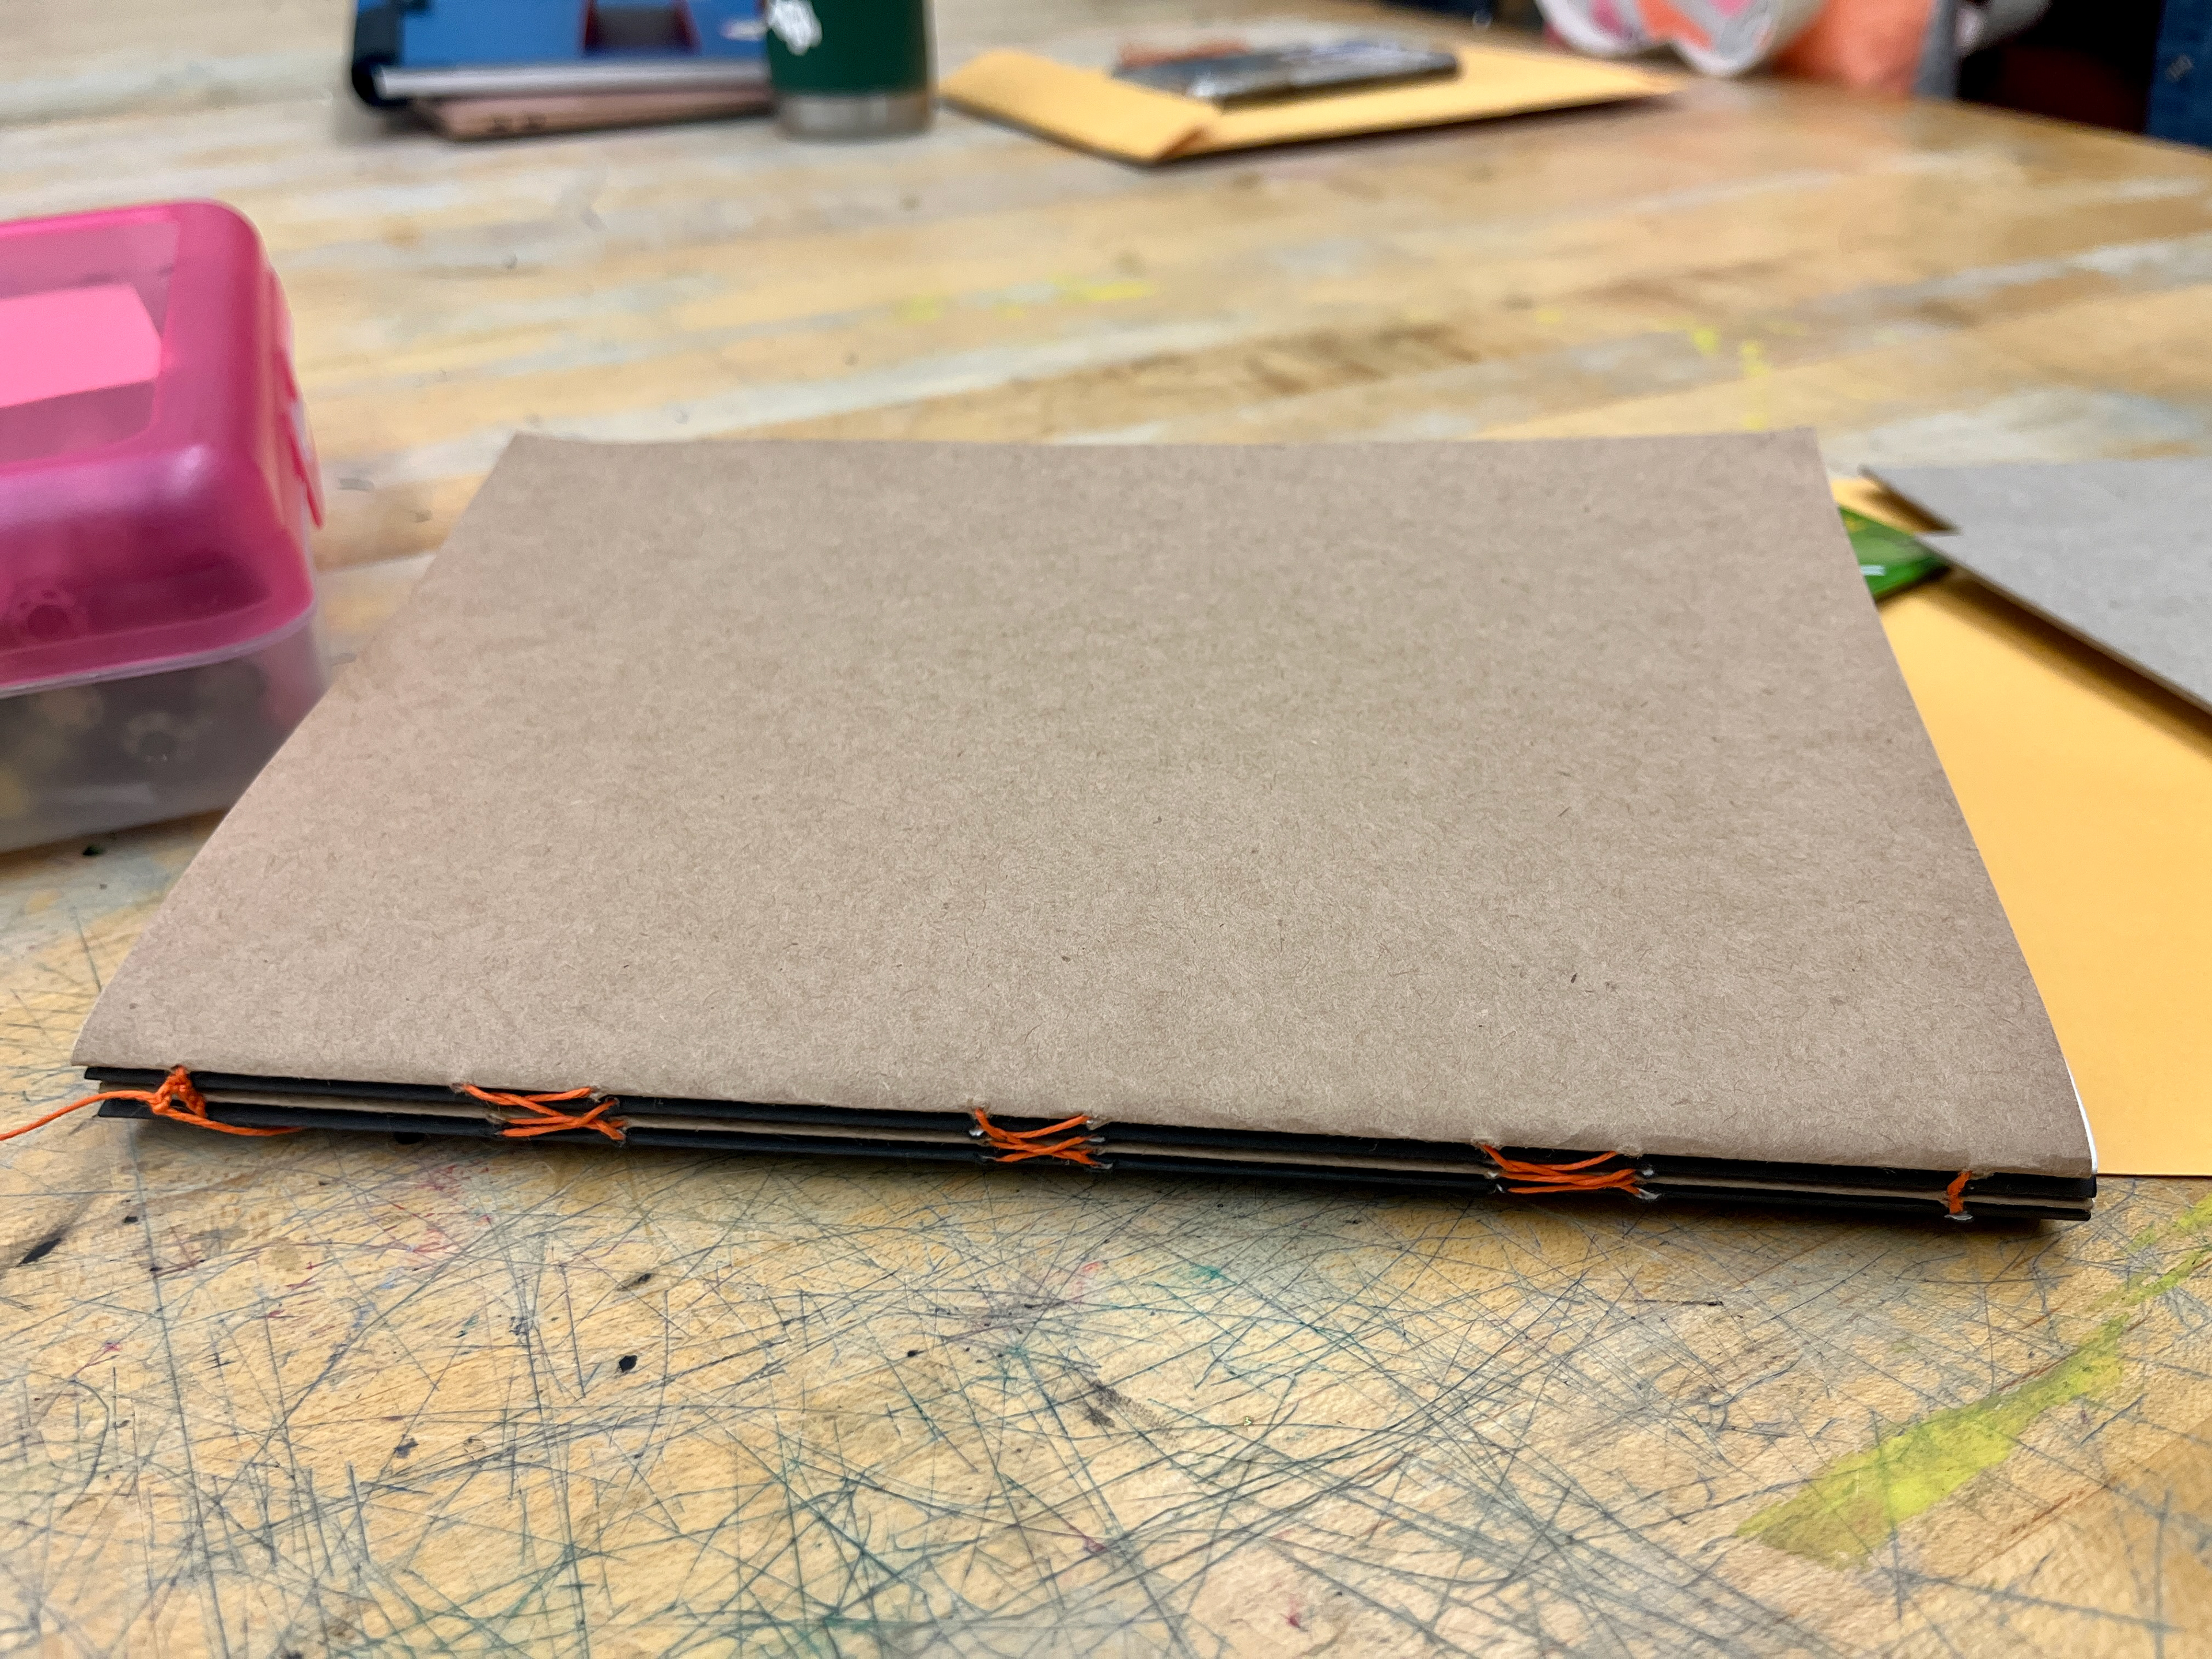
You are now done with making the main portion of the book. You can stop here if you do not want a cover. If you do want a cover, move on to the next steps.
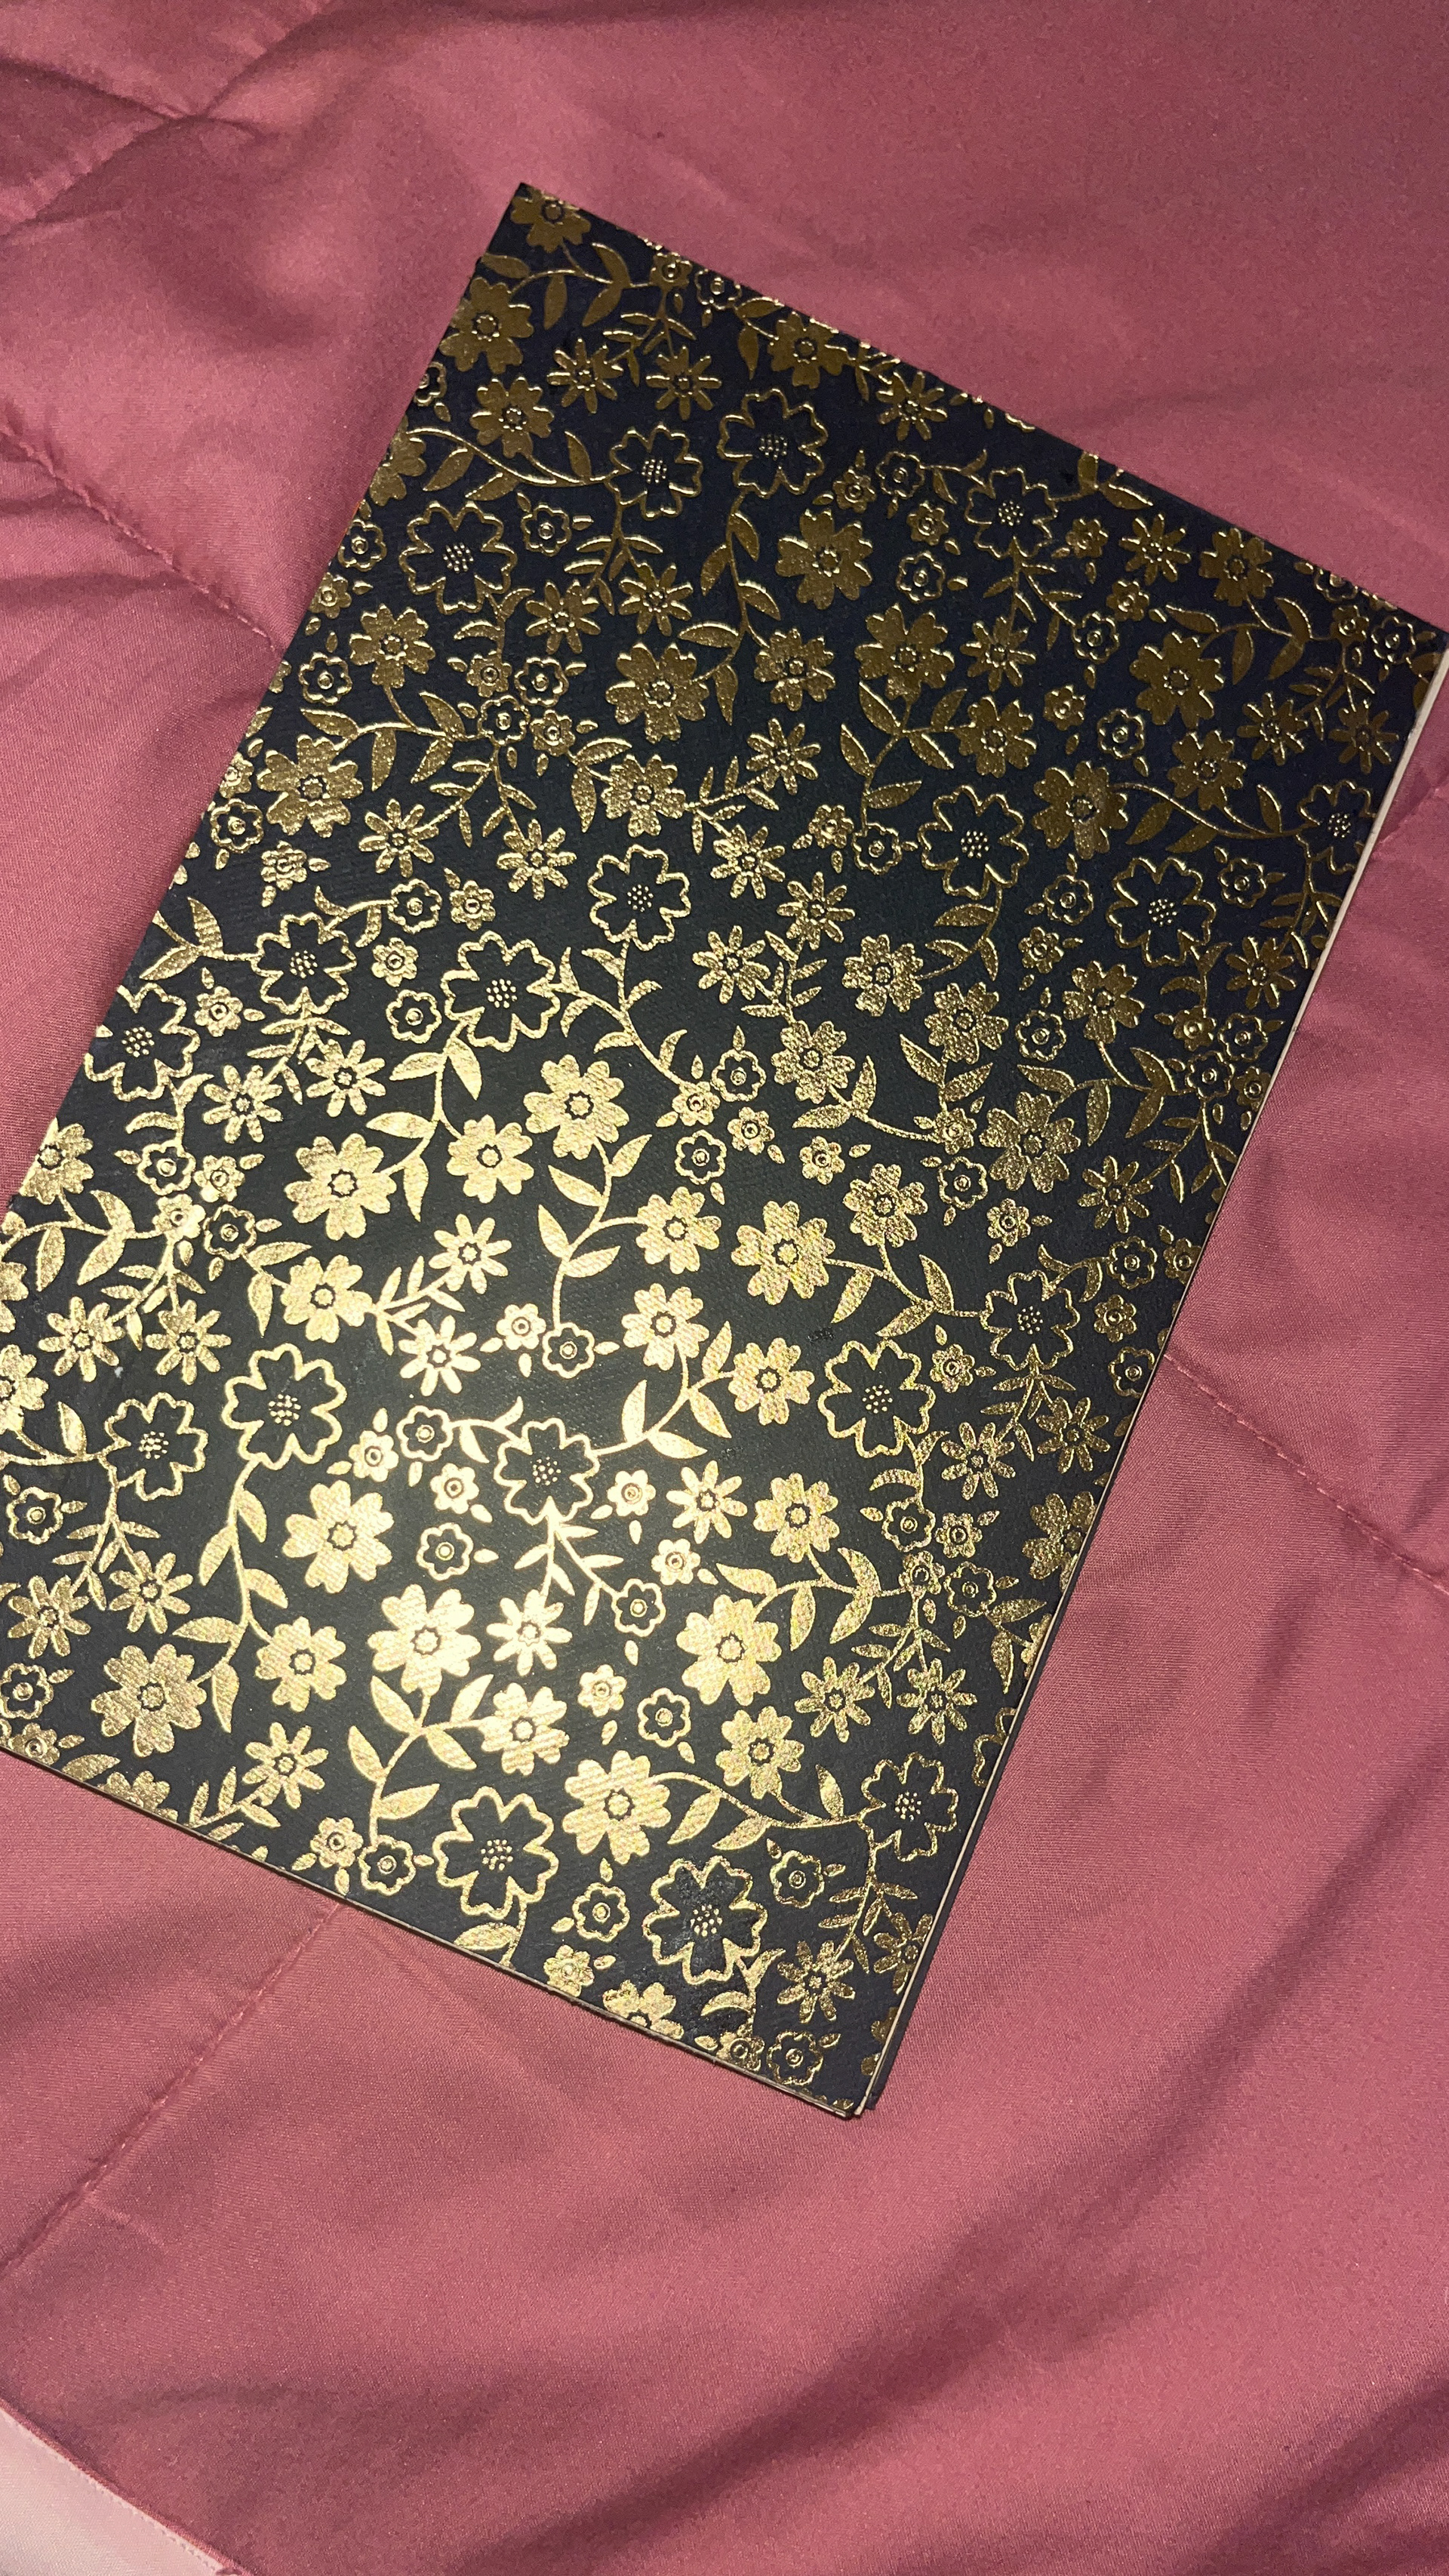
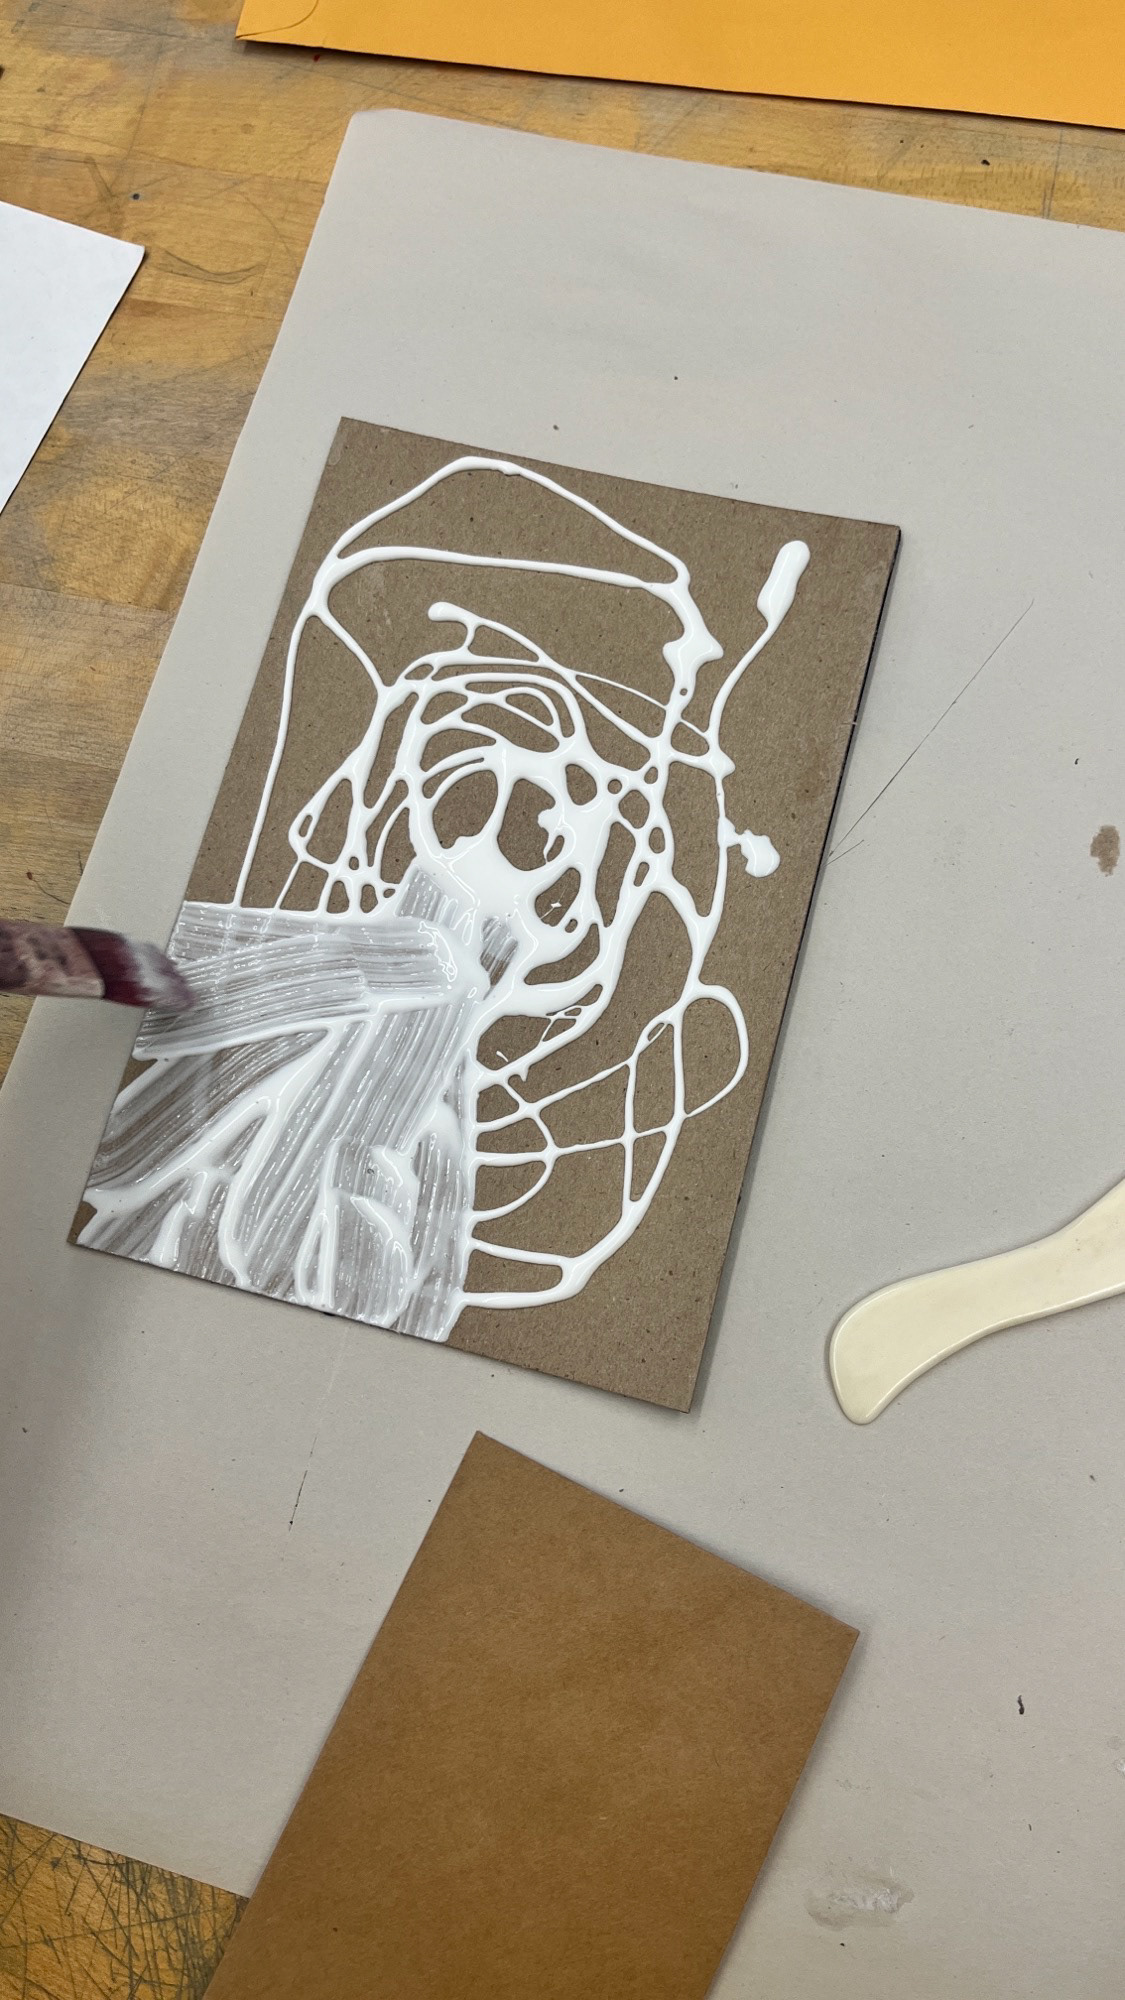
Step 11: Take 2 book boards or cardboards and cover the front with a patterned paper or customize it to your liking
- You can choose the that fits your sketchbook, but I used 2 6x9 boards.
If you are using paper to cover, make sure to add a generous amount of glue to the center of the board and spread the glue in an outward motion.

Step 12: Add the paper to the back page and then cut the excess paper off with an xacto knife.
Step 13: glue the front cover with the first page of the first signature, making sure to hide the tail in-between the cover and the page, and the back cover with the last page page of the last signature. Make sure to put binder clips to the edge of the book to keep the book flat and together until it dries.


Remove binder clips once everything has dried.
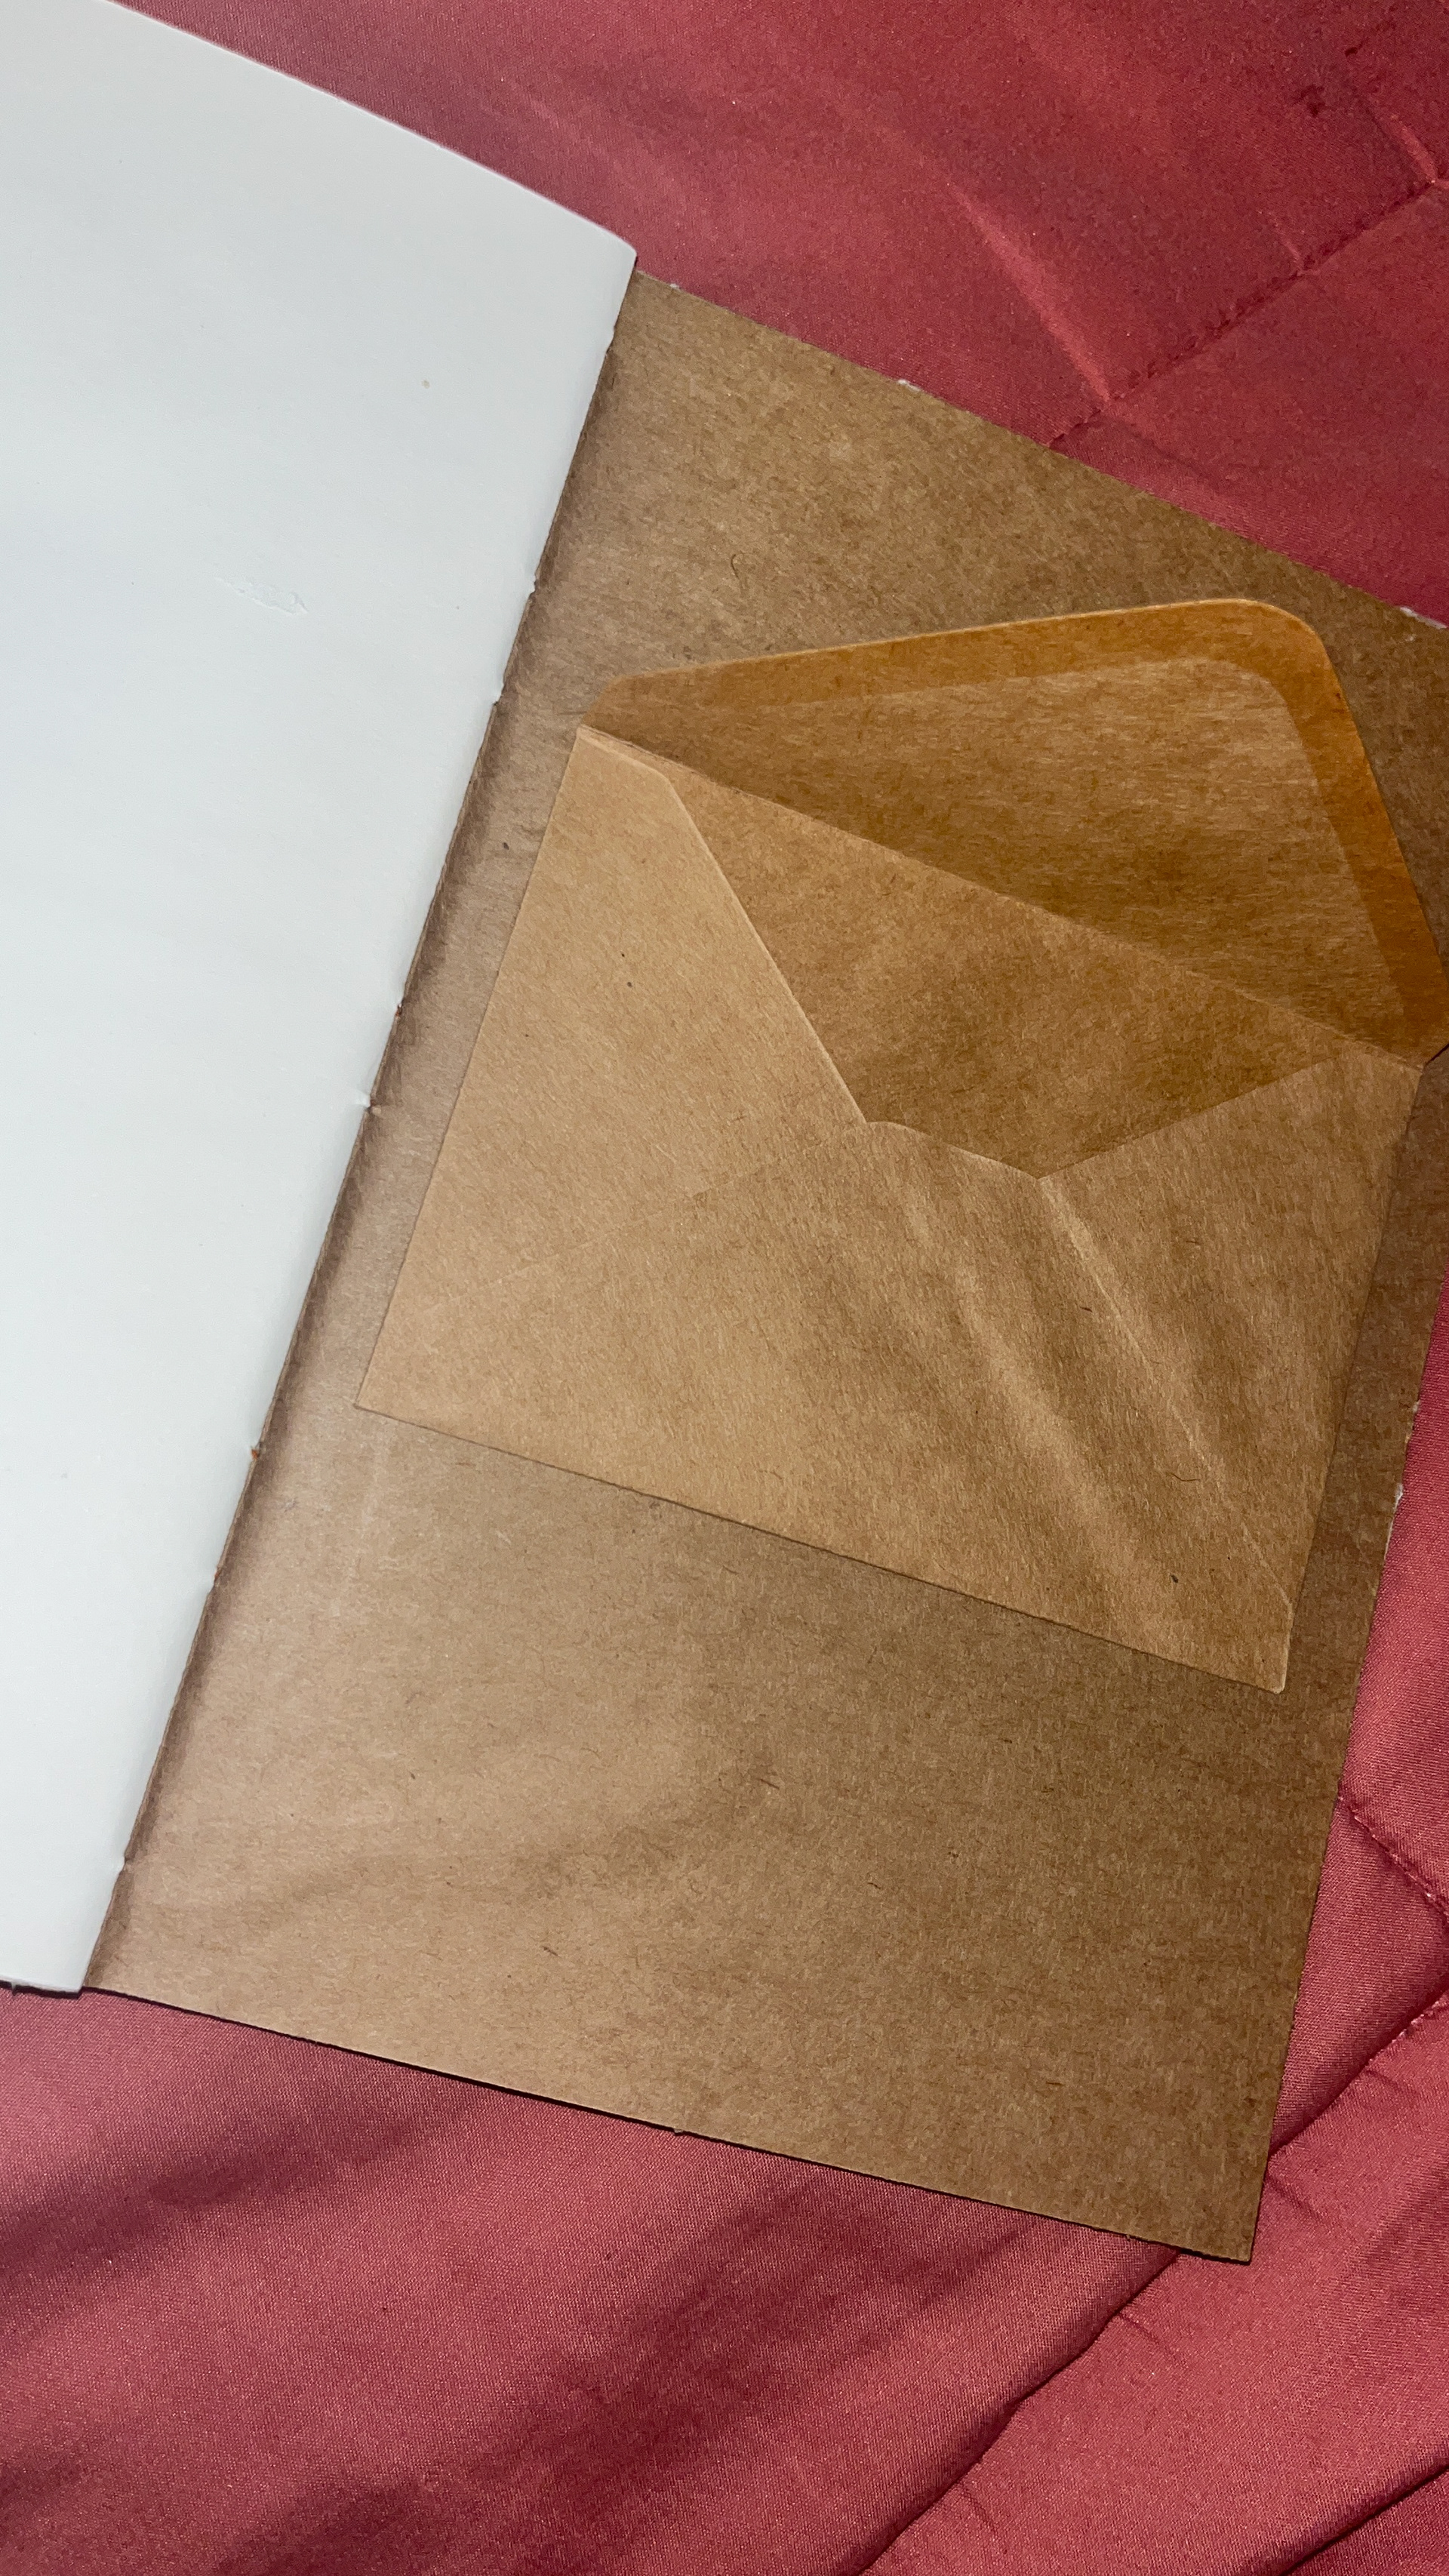
Final touches: Add an envelope to the back cover of the sketchbook to hold any extra pieces to add to your sketchbook
You just made your first sketchbook!